Build of the DOLPHIN kit from Walter Umland
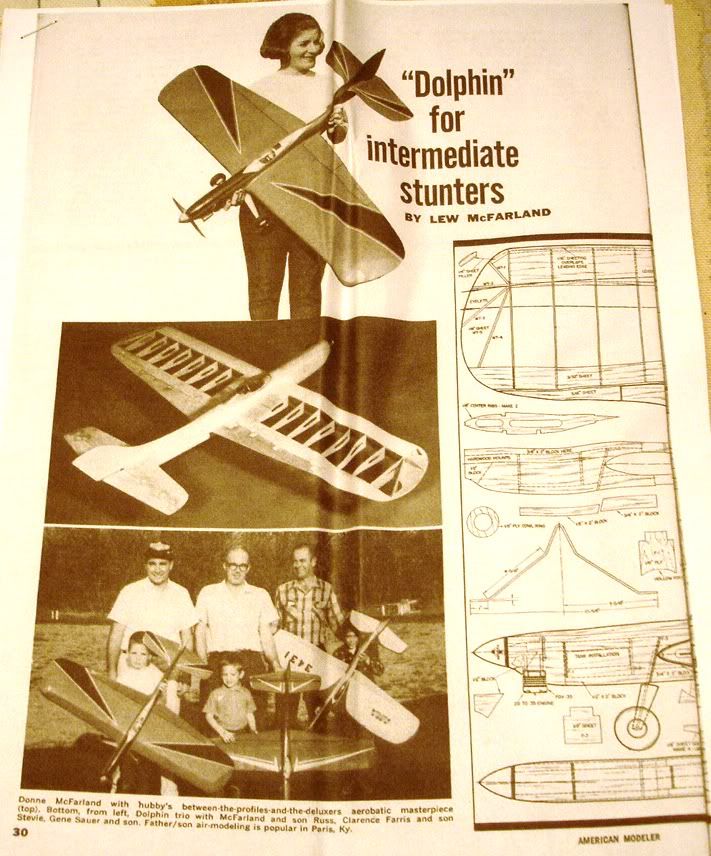
This is a build of the Dolphin kit that was designed by Lew McFarland.
Those that have built a Walter Umland kit before know the quality and dedication that goes into each kit he produces. This one is no exception. For those of you that havent tried one of Walters kits, you are in for a rewarding experience of assembling a laser cut kit of the highest quality. This build is focused on the flyer that is moving up from profiles, to a full fuselage build for the first time. To quote Lew from a 1965 American Modeler magazine article, Our control line stunt plane was designed to fill the gap between the deluxe jobs and the profiles and yet be capable of competing...There is a need for simplicity to enable those with a desire to move forward and show they can do Precision Aerobatics. So lets open the box and take a look!
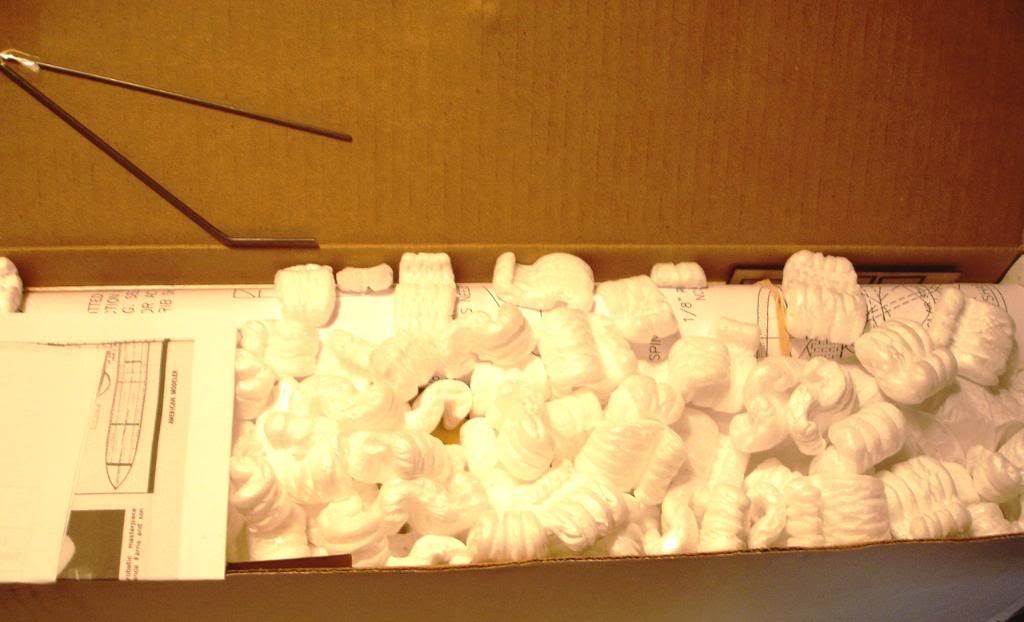
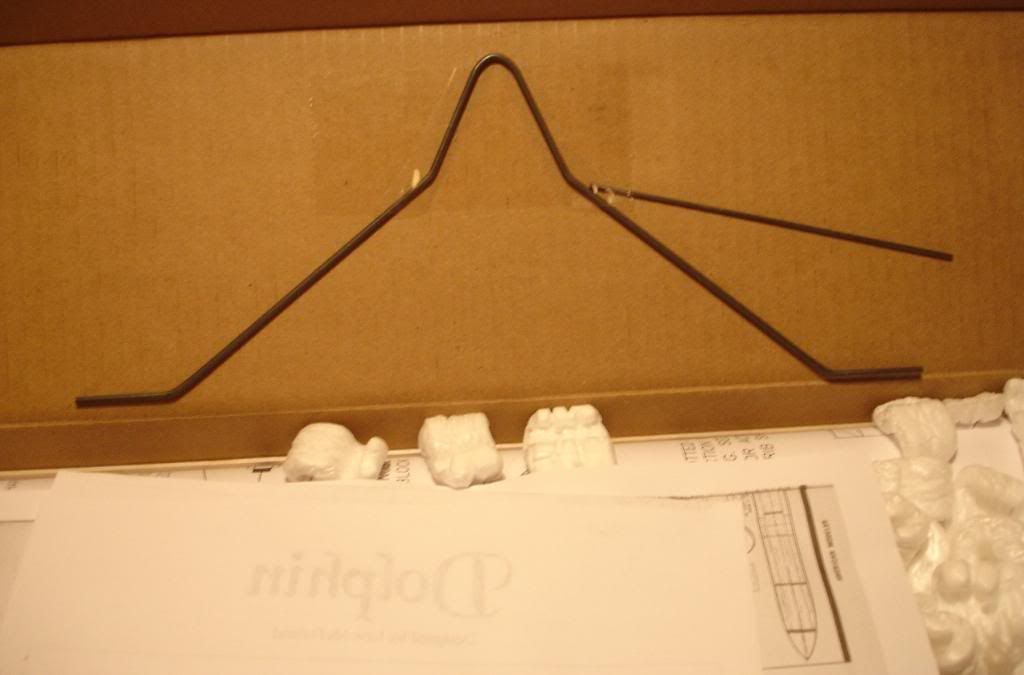
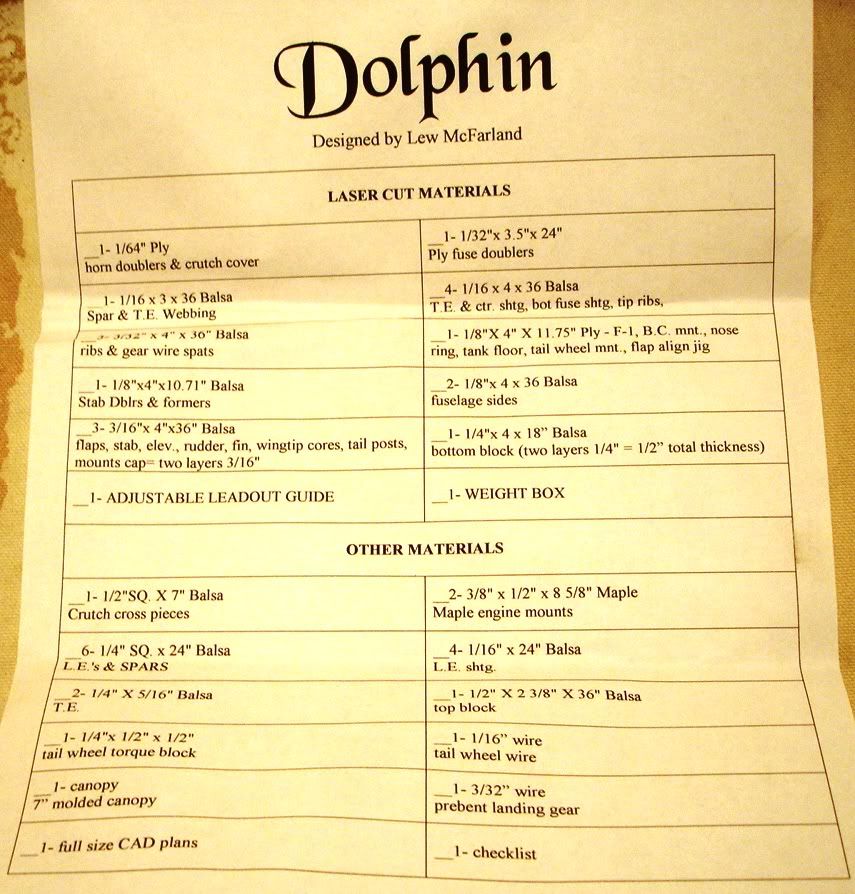
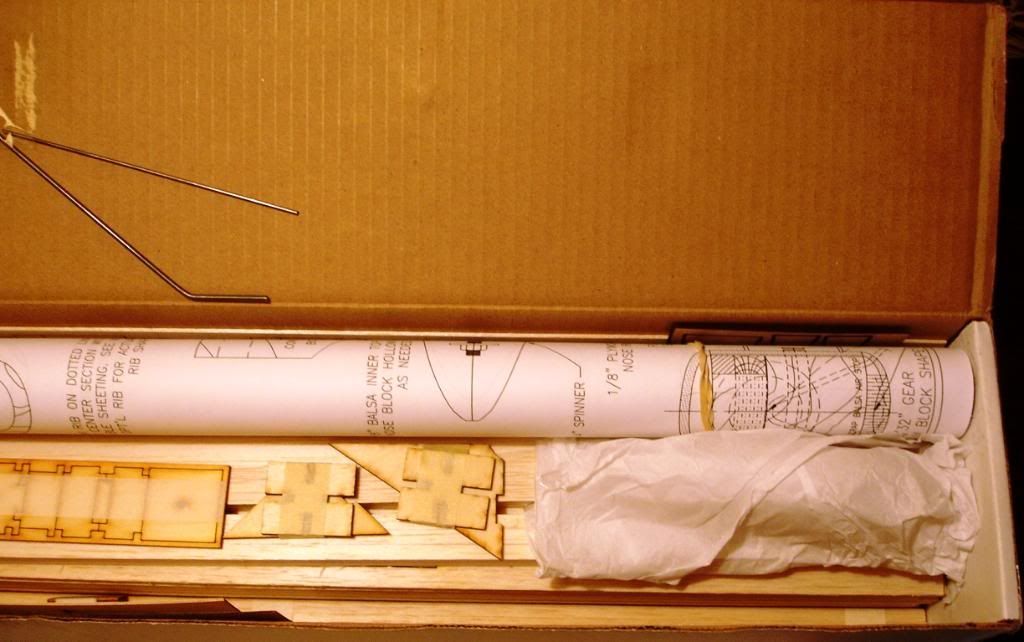
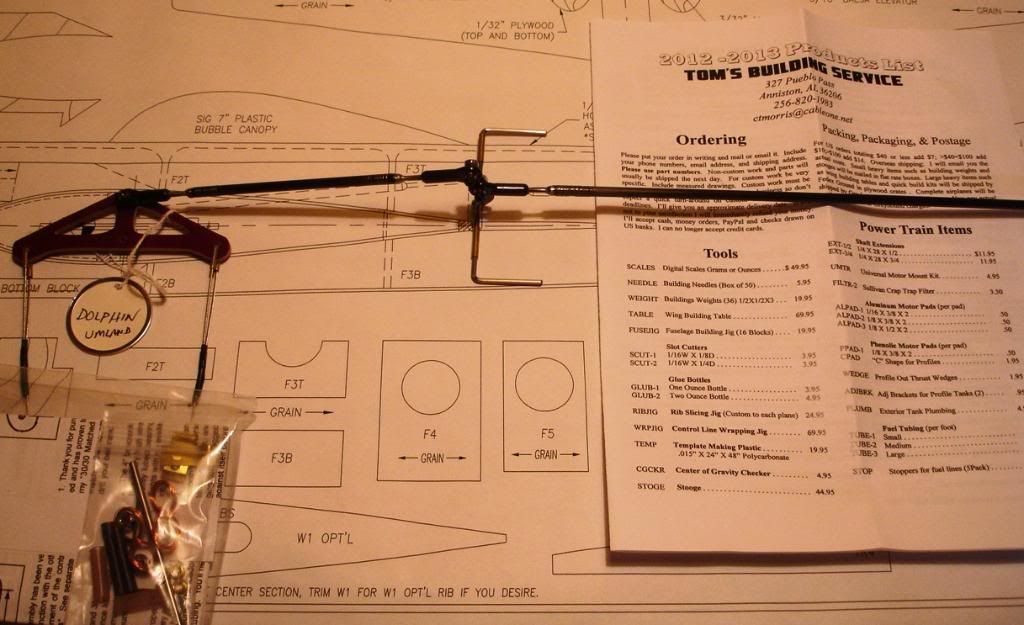
Youll notice a WELL PACKED kit that includes pre-bent landing gear, rolled plans, tissue wrapped canopy, parts list and a copy of the magazine article.
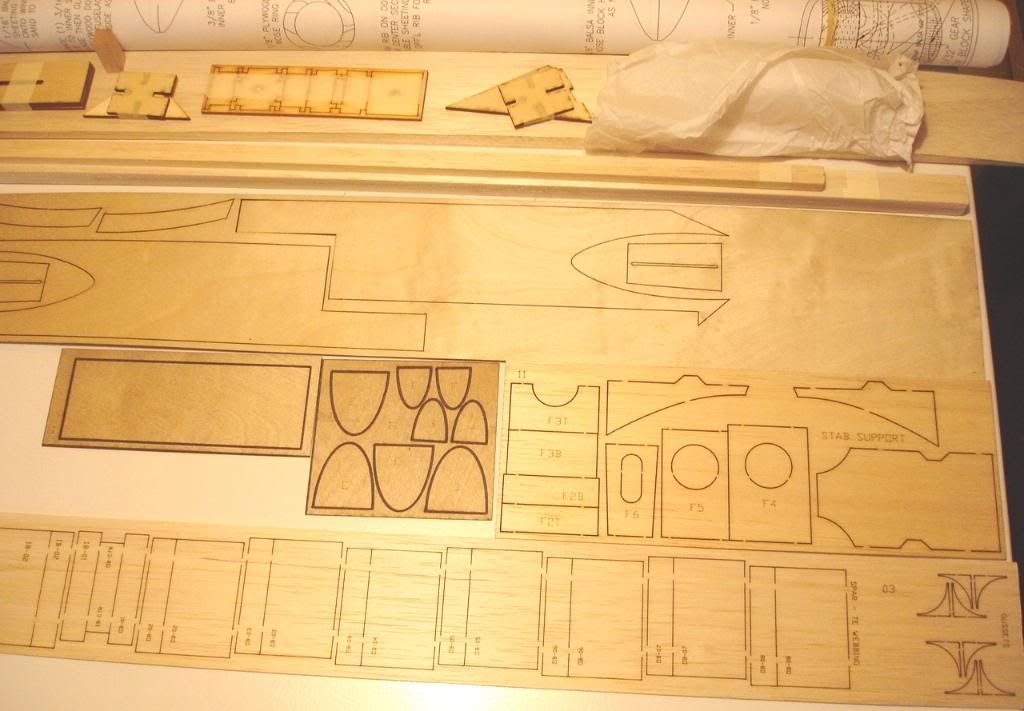
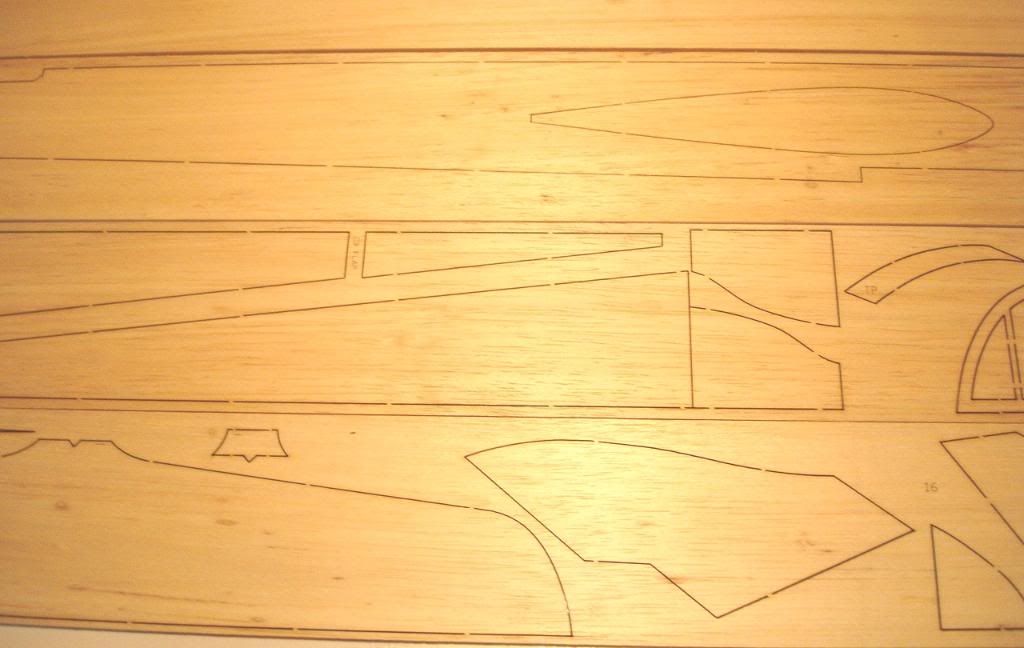
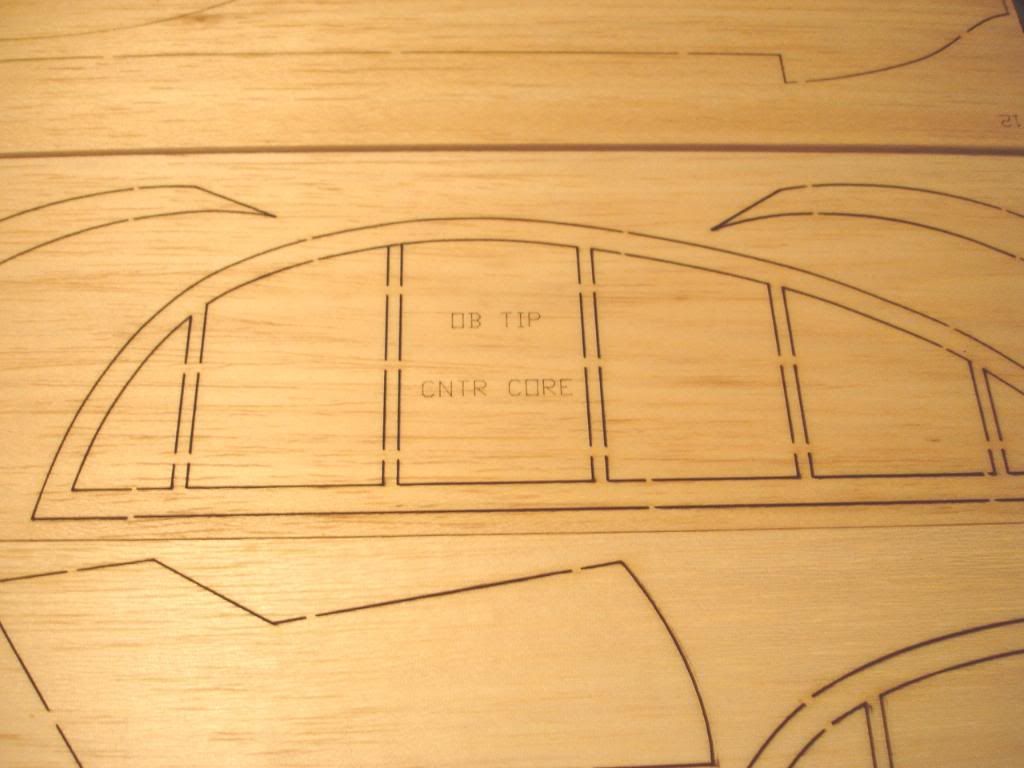
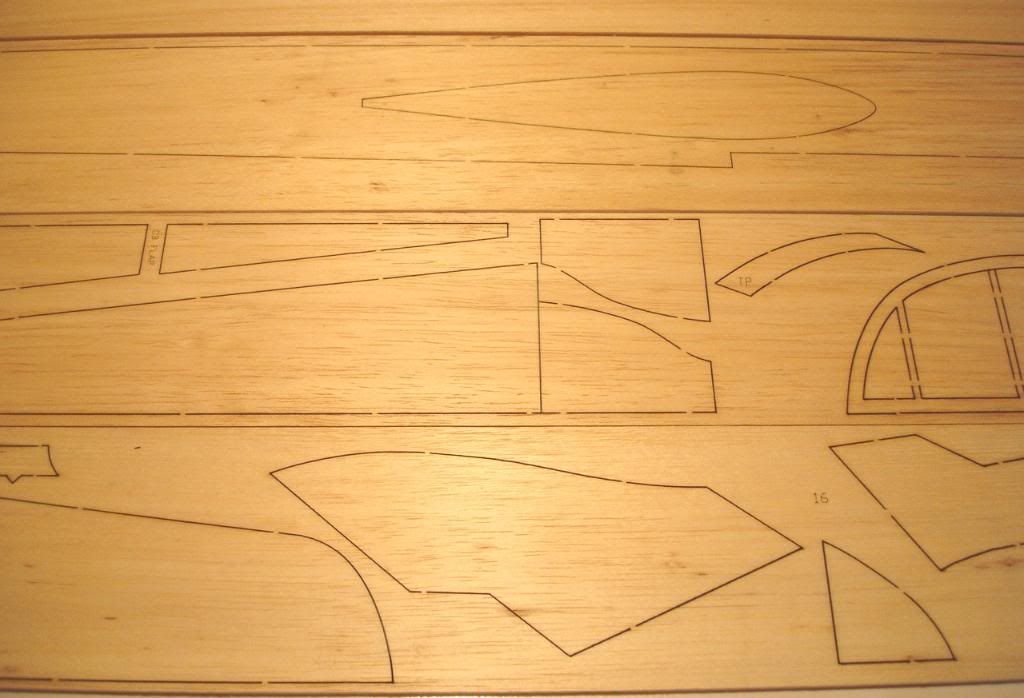
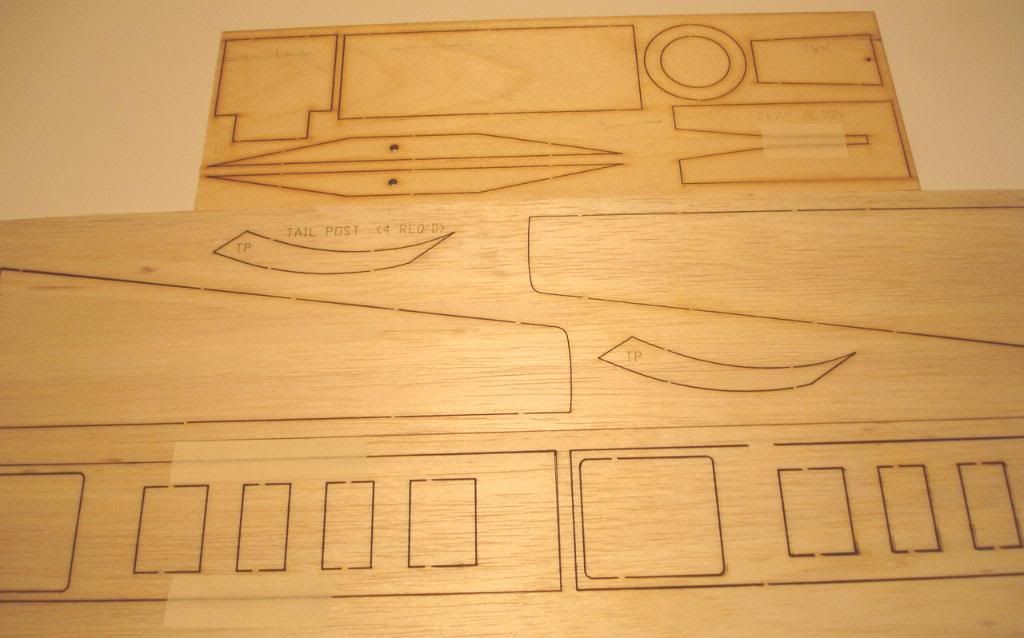
Next are the laser cut kit parts and pre-shaped top block.
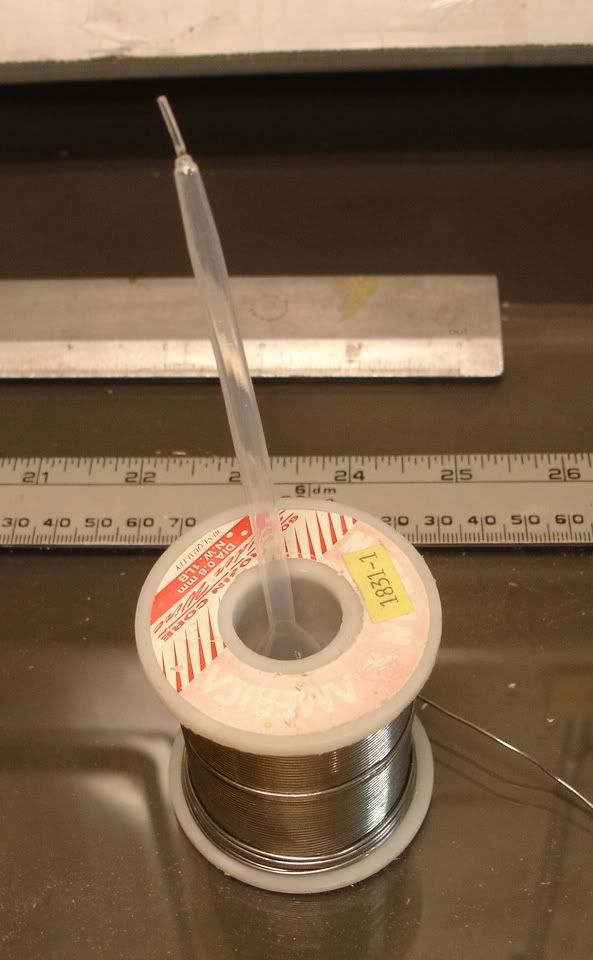
Now lets clear the workbench, empty the trashcan from the last building session, and get busy! Be sure your bench is true & flat, have a fresh top sheet of whatever bench top cover you prefer. Mine is glass atop a large, metal office desk. Be sure to have plenty of light, ventilation, tools, various glues & epoxies, your favorite tunes ready to play, and plenty of these
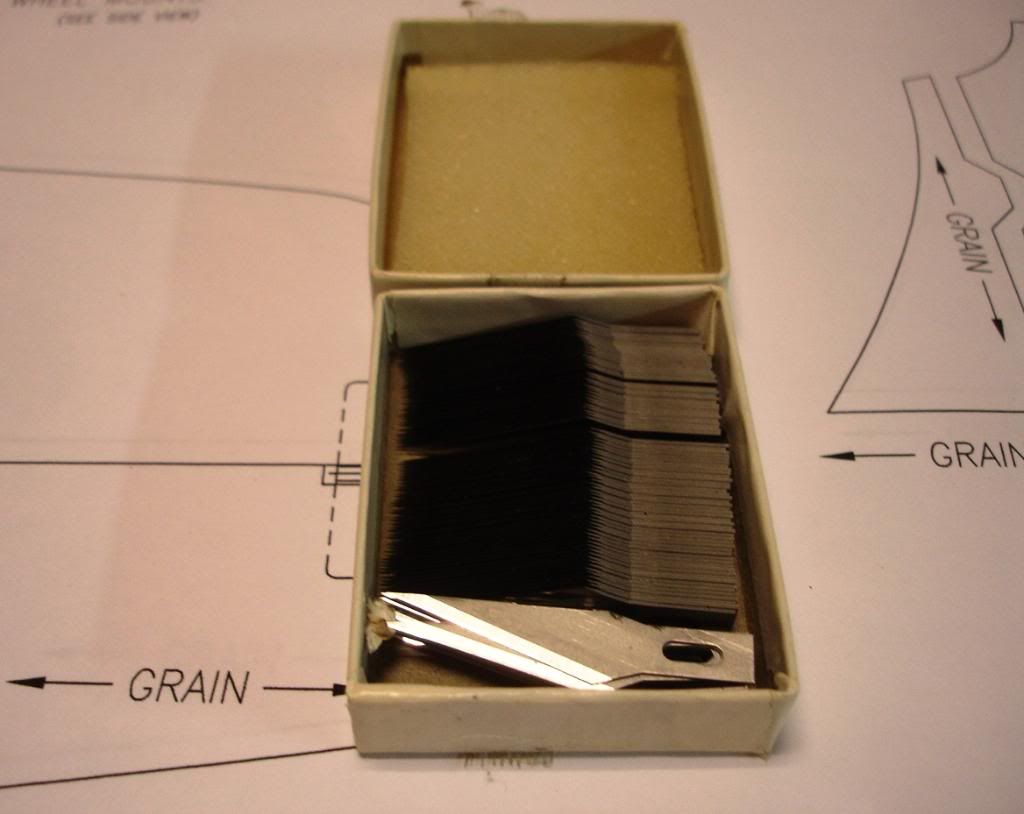
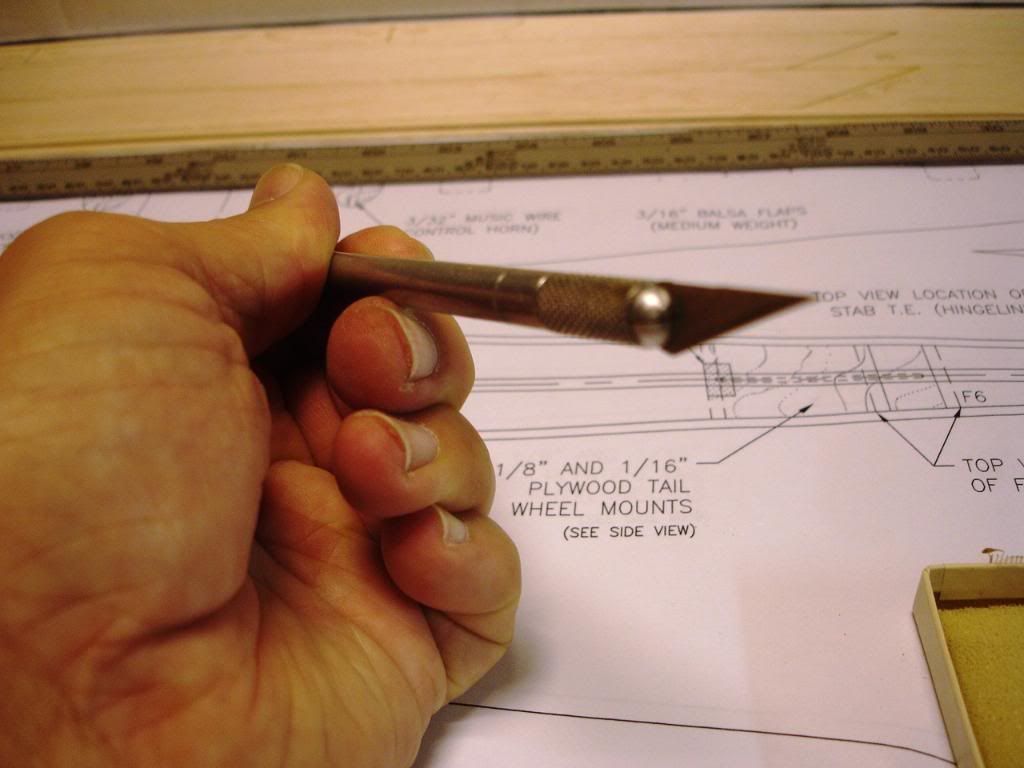
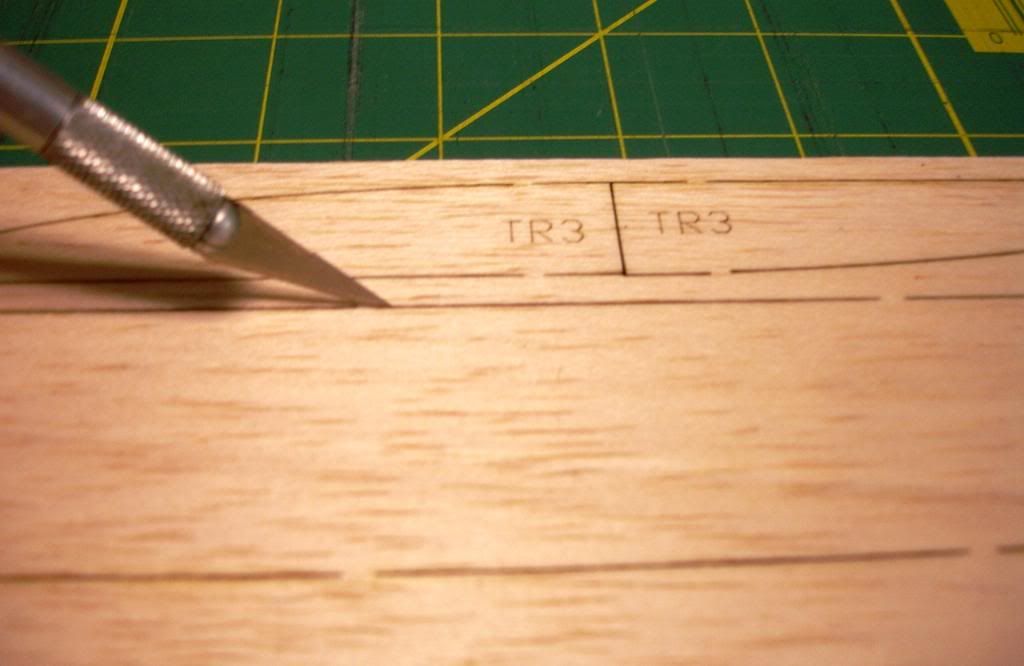
Always use the X-acto or other quality knife as pictured. I have discovered that some have PLASTIC jaws instead of metal ones.
When removing or cutting a part from the master sheet, position your blade cut AWAY from the needed part.
This will keep any splits in the wood from damaging the desired part.
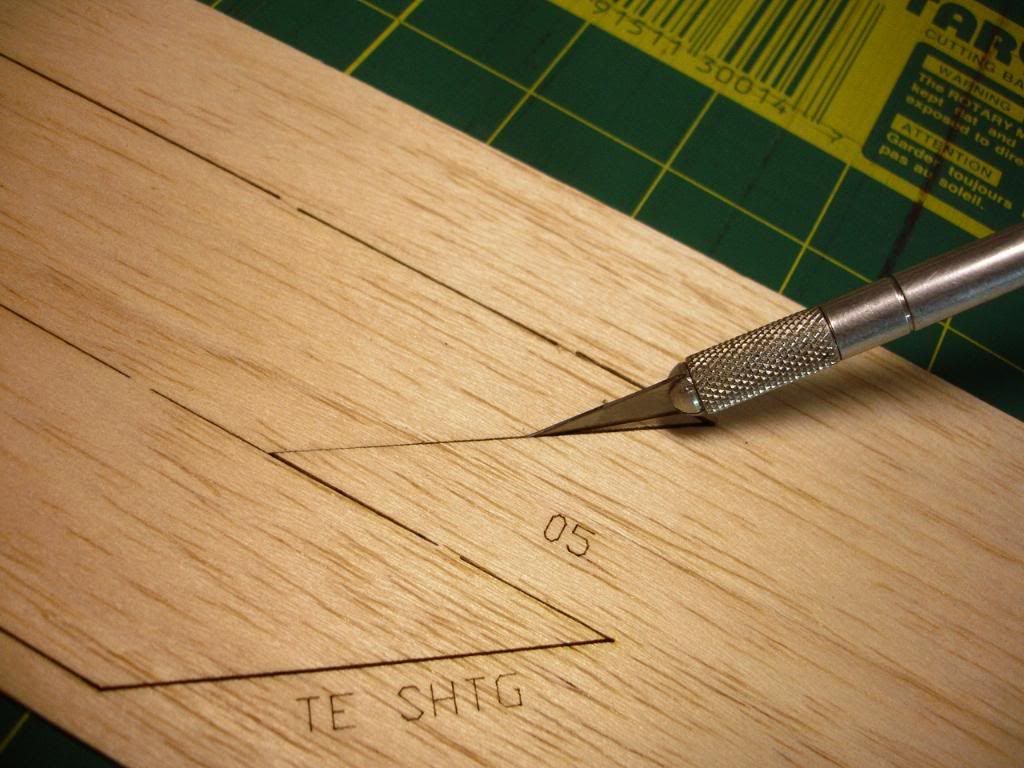
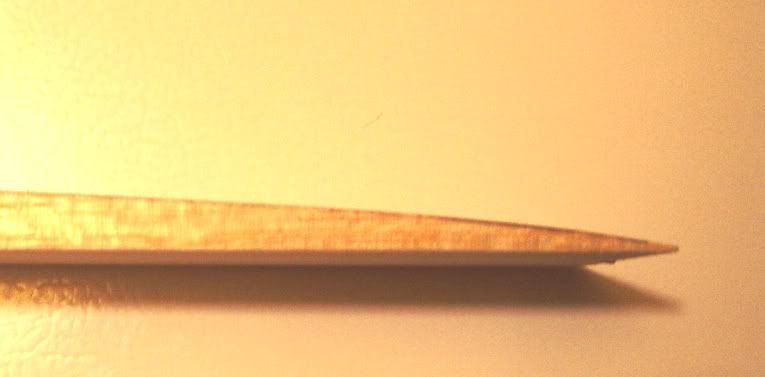
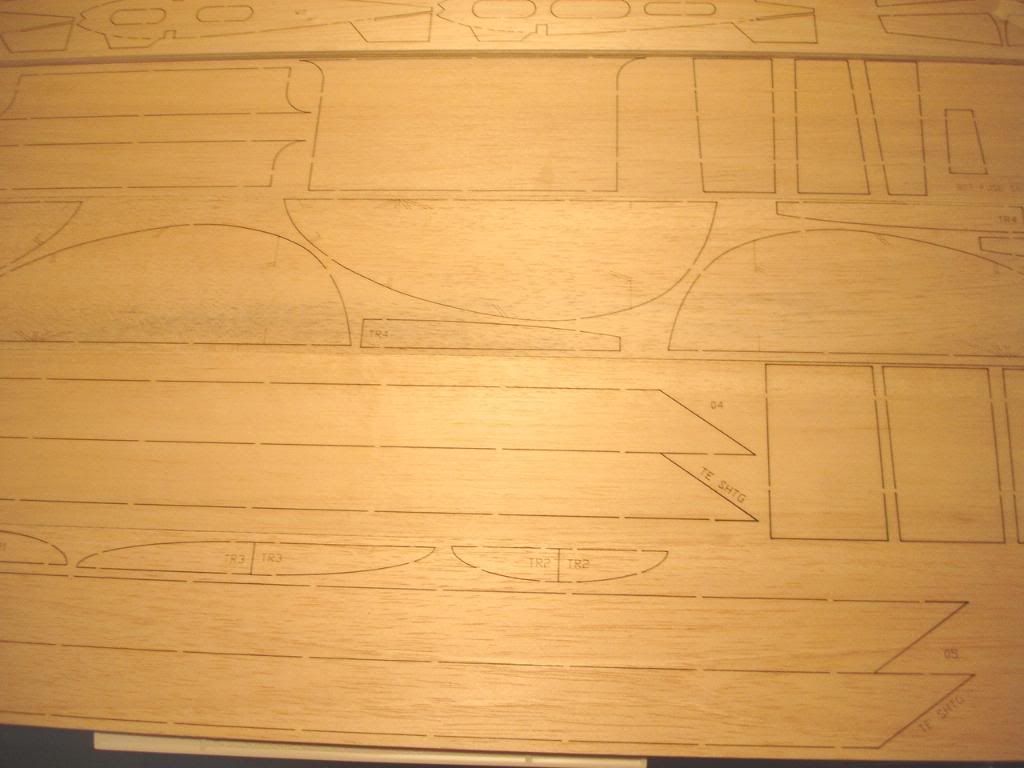
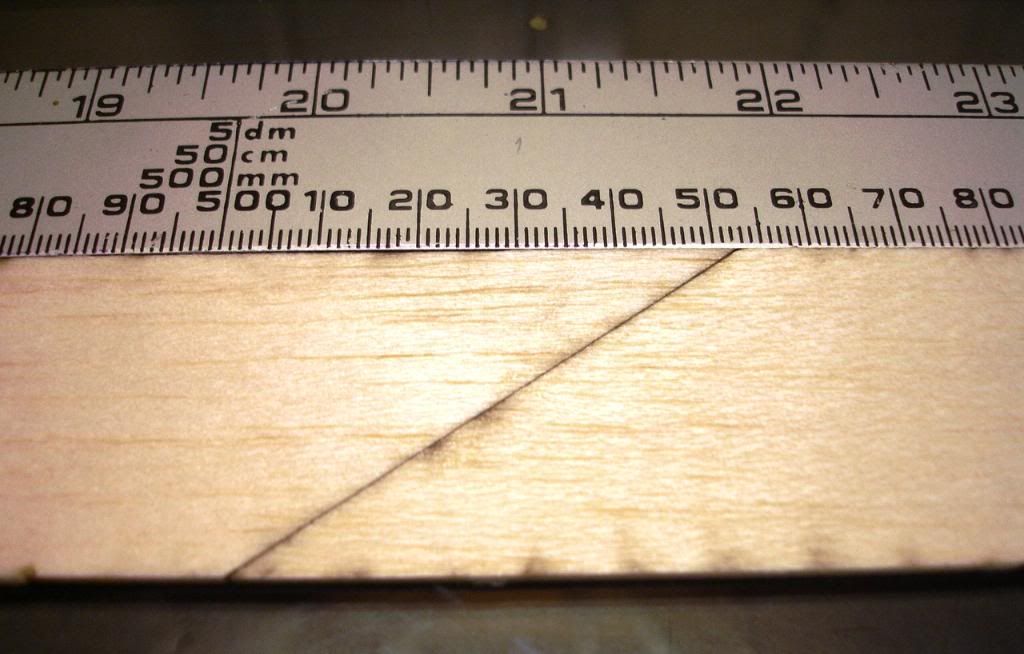
The first step in building the wing is to remove the trailing edges from the master sheet.
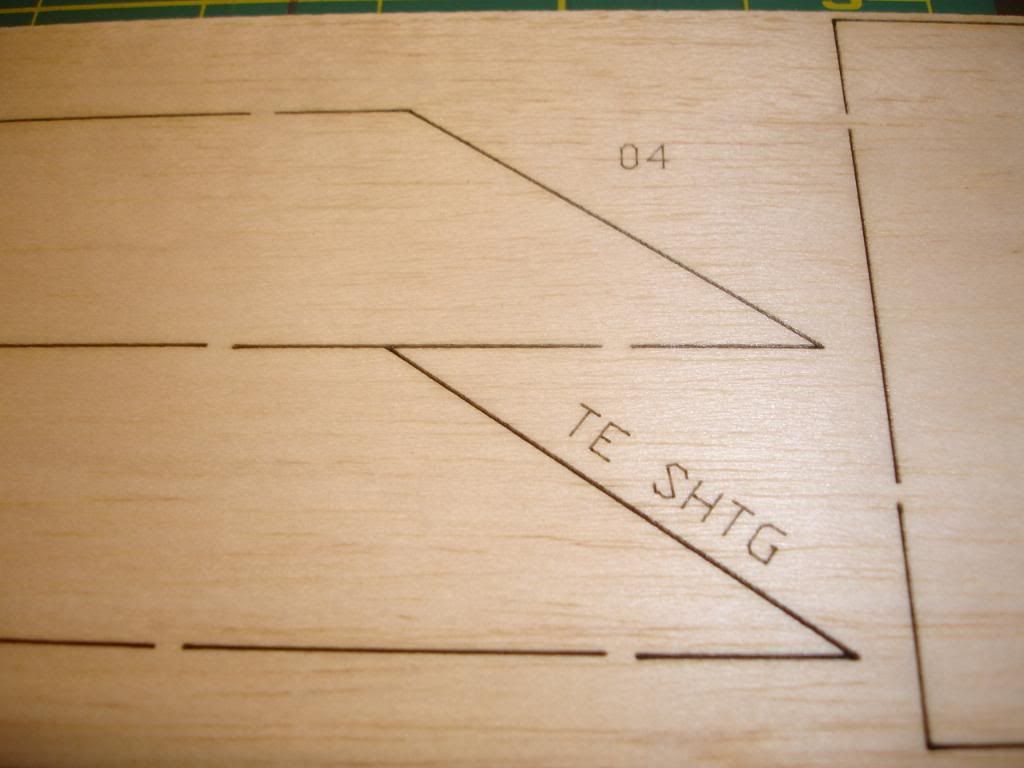
Notice the laser break that holds the part to the master sheeting.
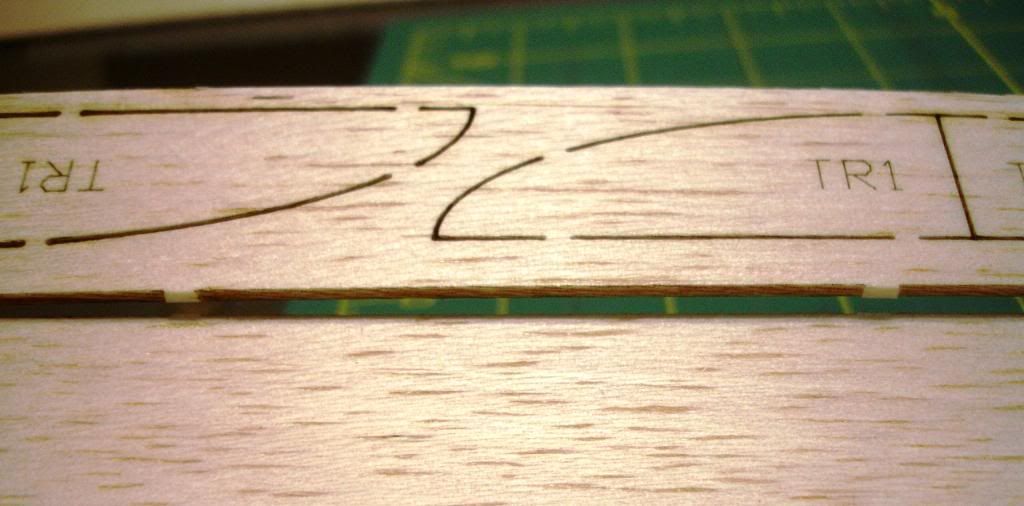
Once cut or snapped apart, the two sections can be lightly sanded and glued together.
Let your fingers do the looking for any high spots after the light sand.
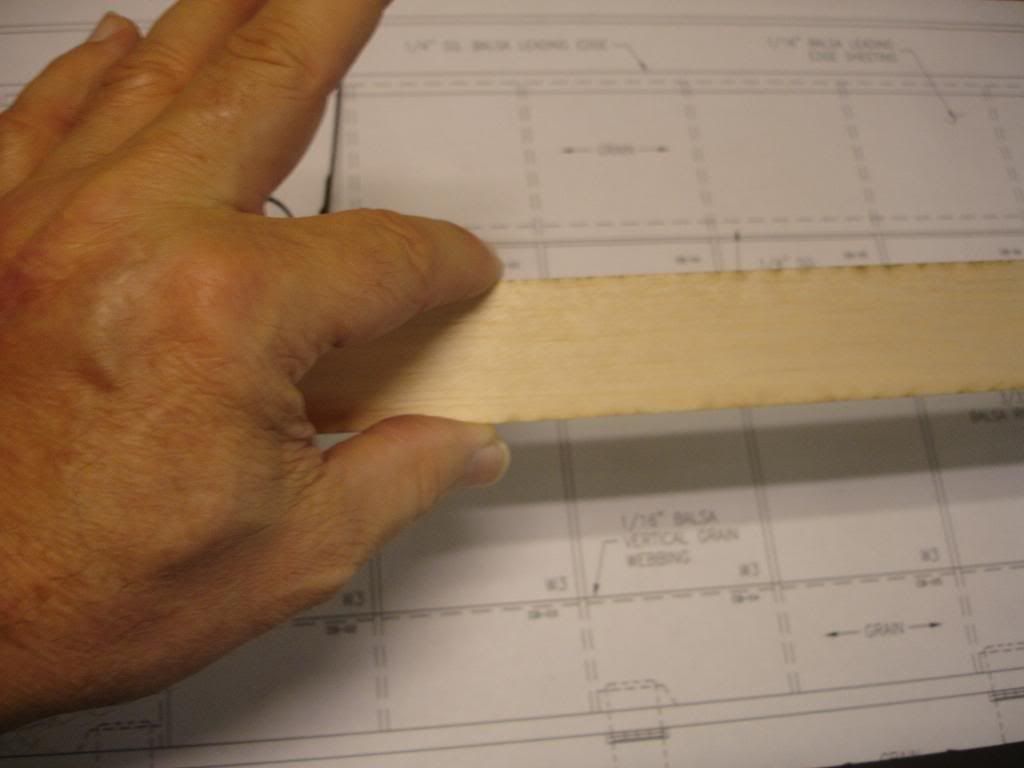
When all is smooth, test fit the parts and then glue together.
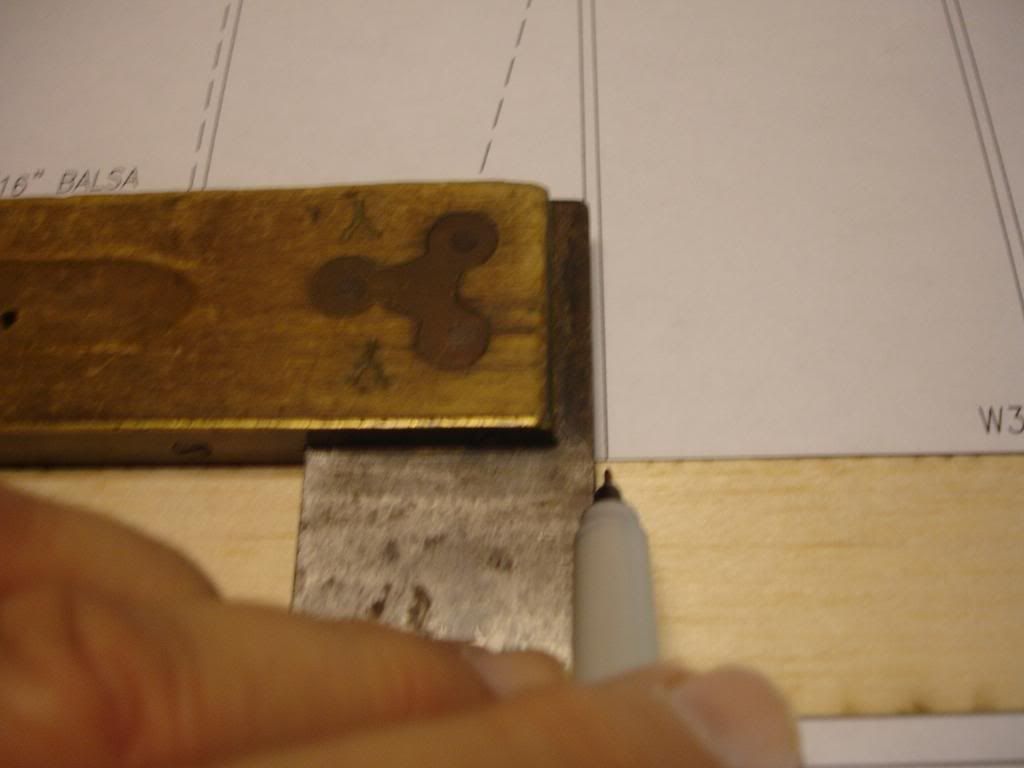
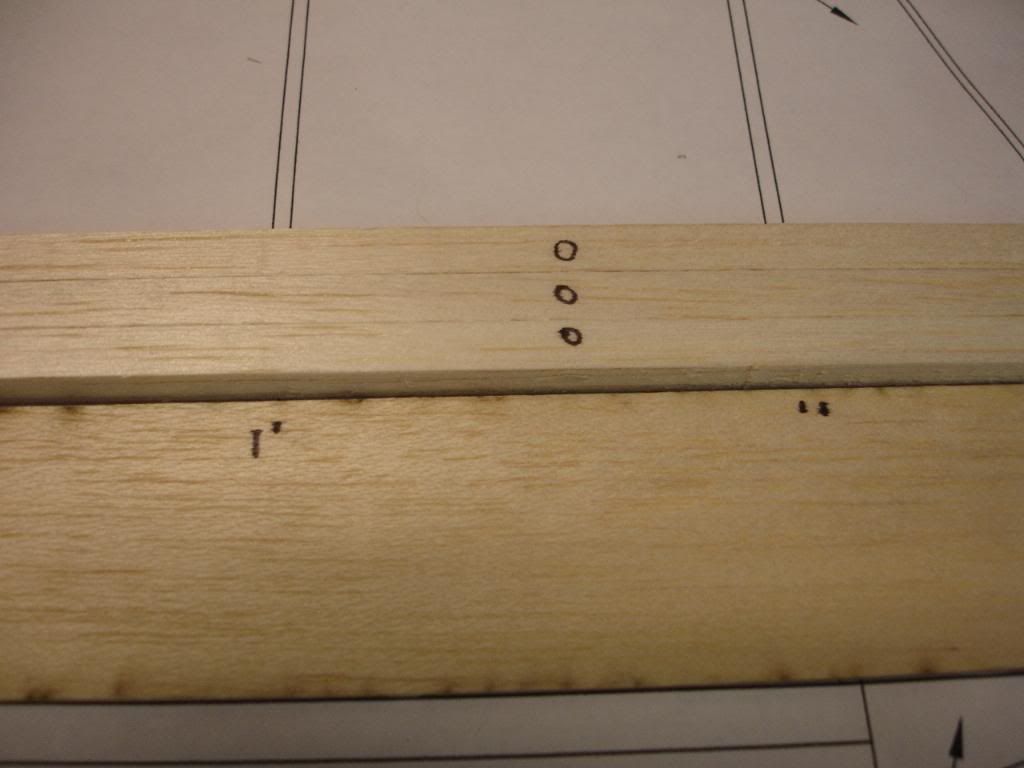
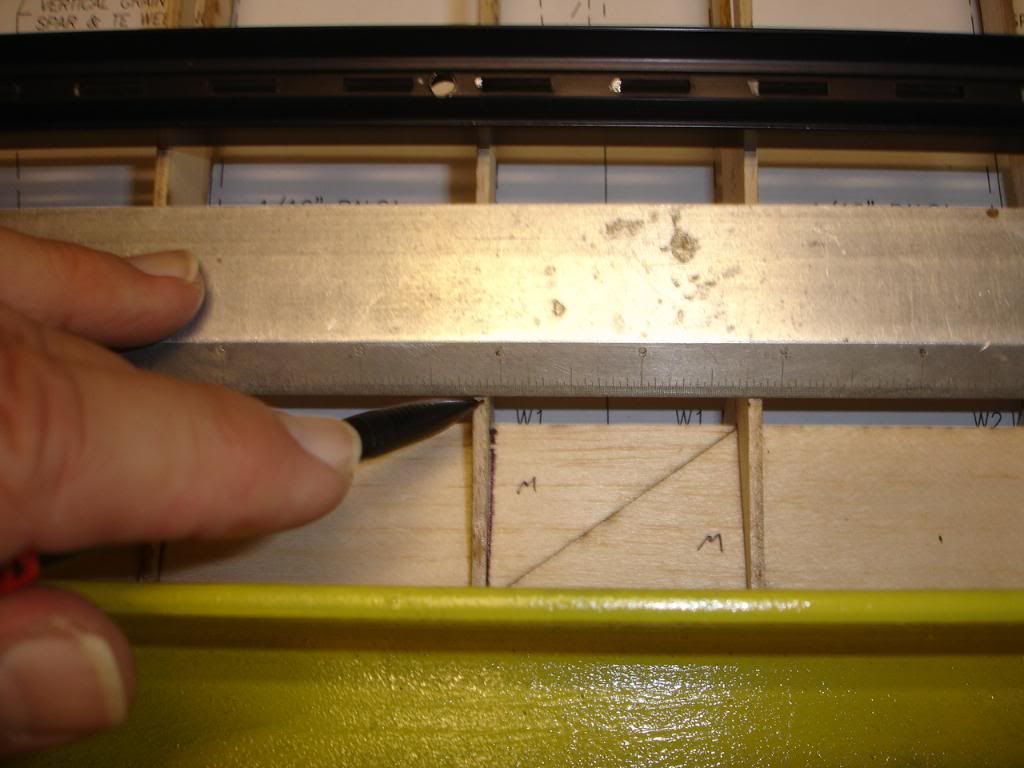
Tape down the plans to your smooth, flat, building surface and proceed to align and tape down the trailing edge on the plans. Take your favorite marking utensil to mark the rib positions. I normally use a SOFT lead mechanical pencil, but since Im posting photos of the build, well use a Sharpie. Just be mindful to keep all marks away from the exterior surfaces that will receive your choice of finishing.
Later in the build, I found it beneficial to extend the marks full length.
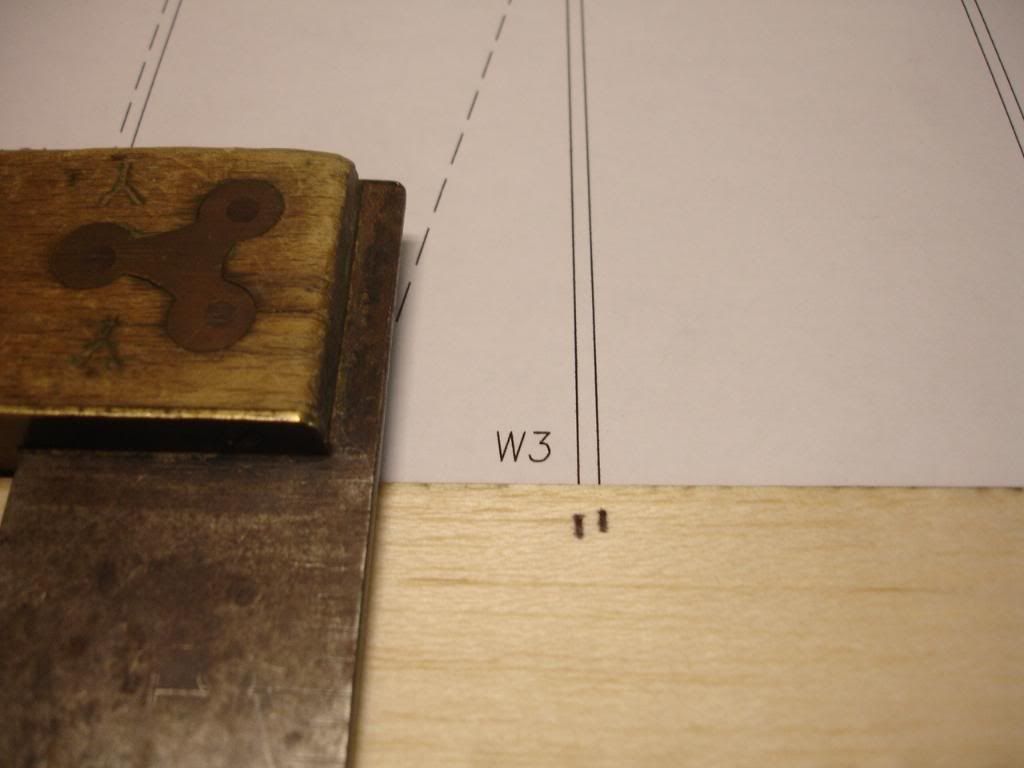
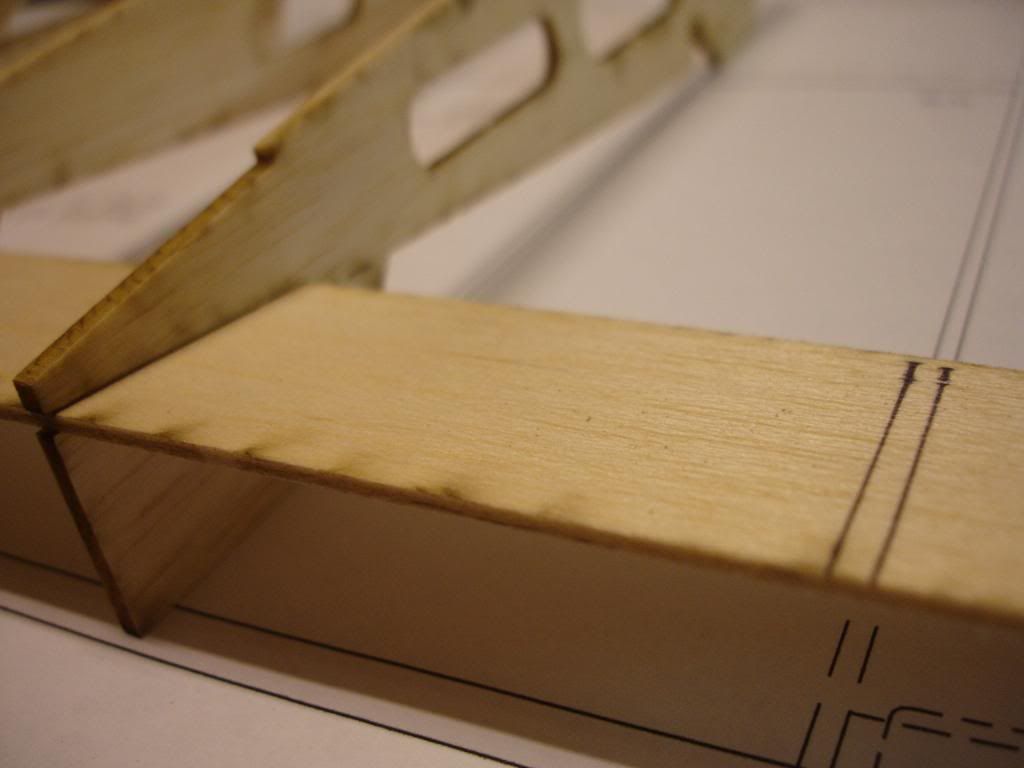
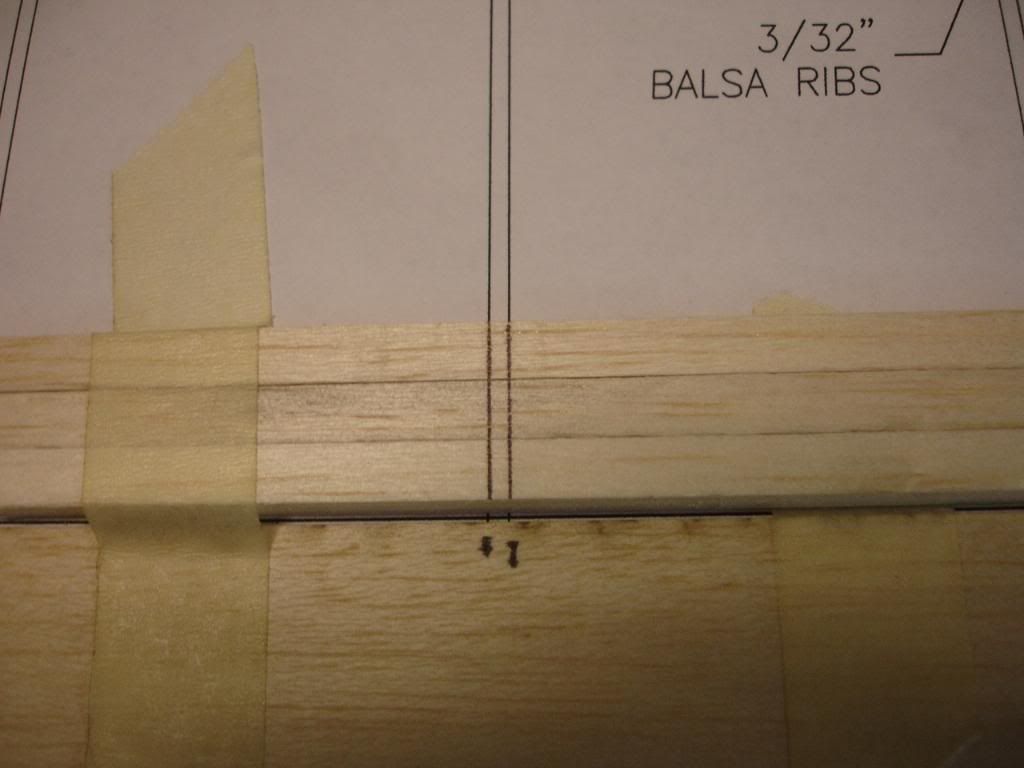
Next take the spars and leading edge and tape them together. Tape these down in front of the trailing edge and mark the rib positions. Mark the inboard and outboard ends of the spars and leading edge. I used an (I) and an (O).

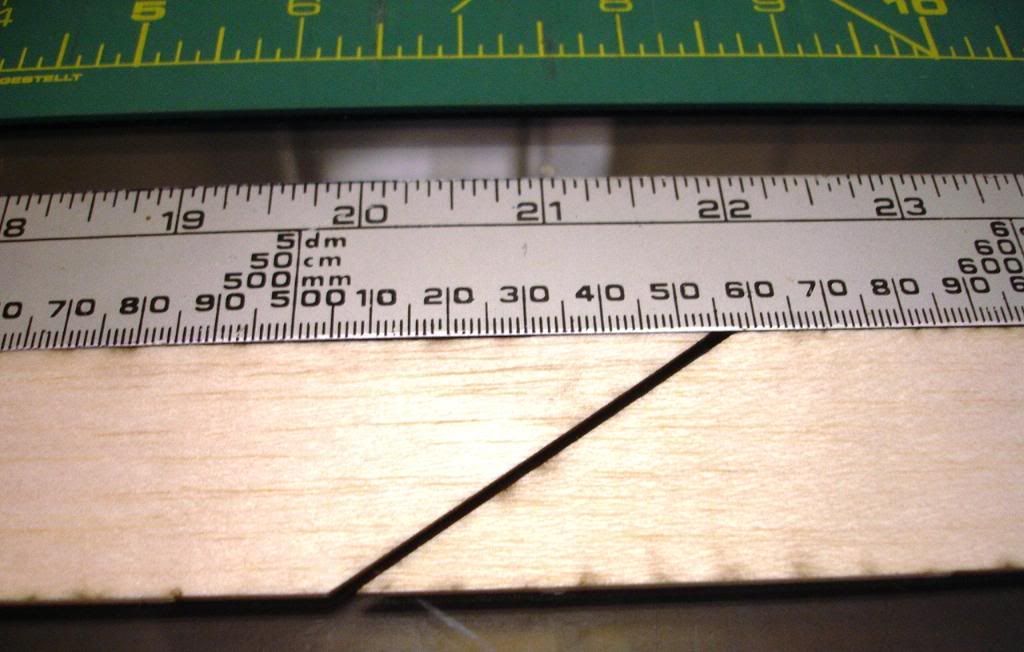
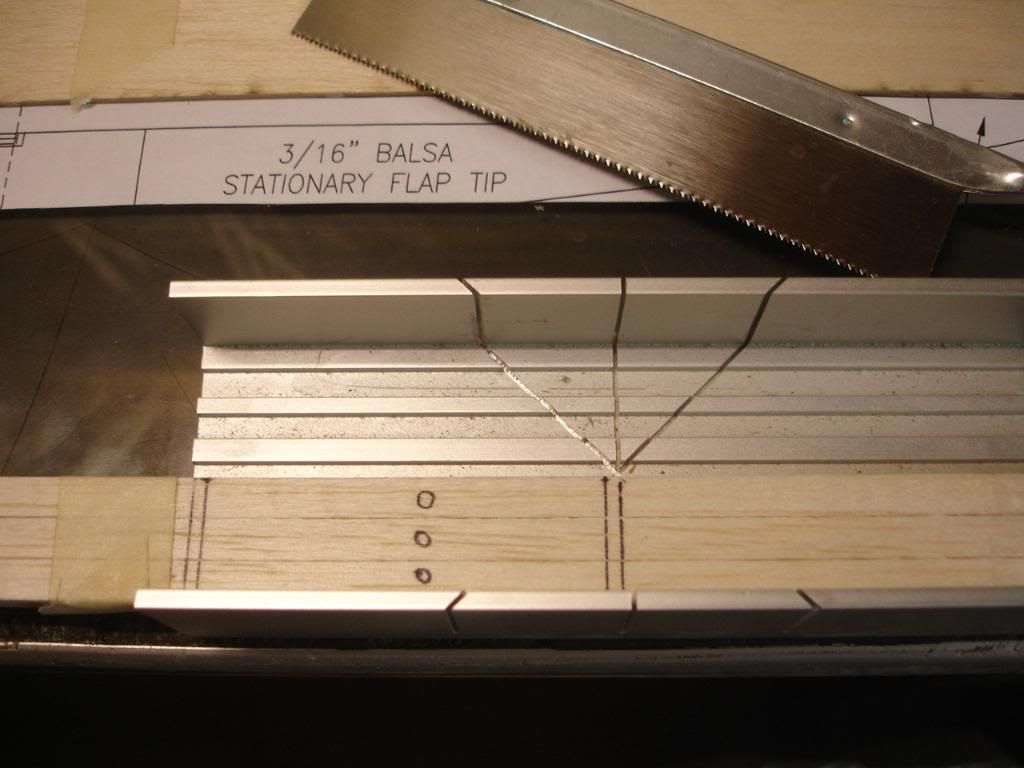
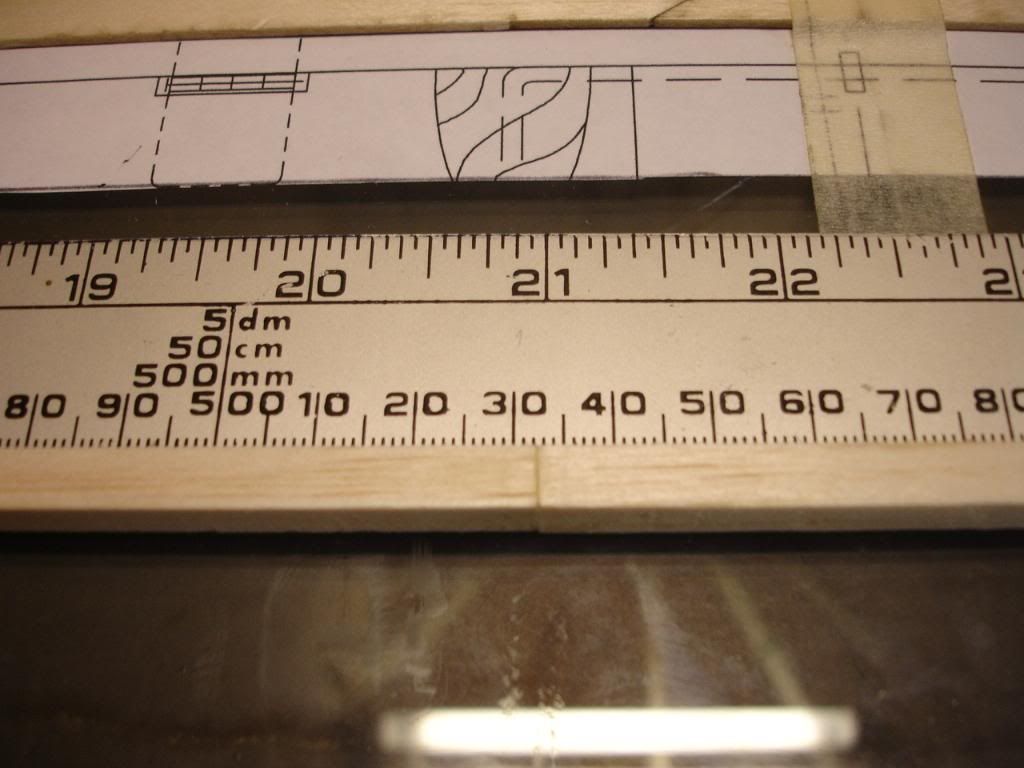
Take your Zona saw (with new fine tooth blade) and cut the spars & leading edge to the proper length. Let the weight of the saw do the cutting. No heavy pressure is needed.
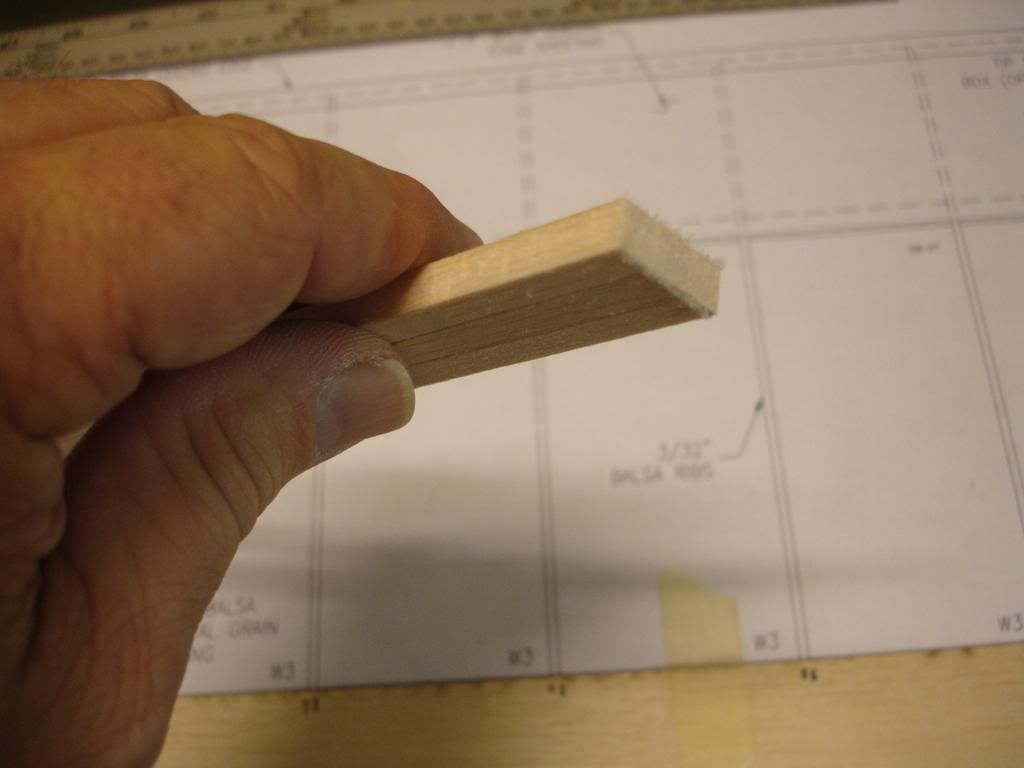
Glue the spar and leading edge sections together keeping all true and straight.
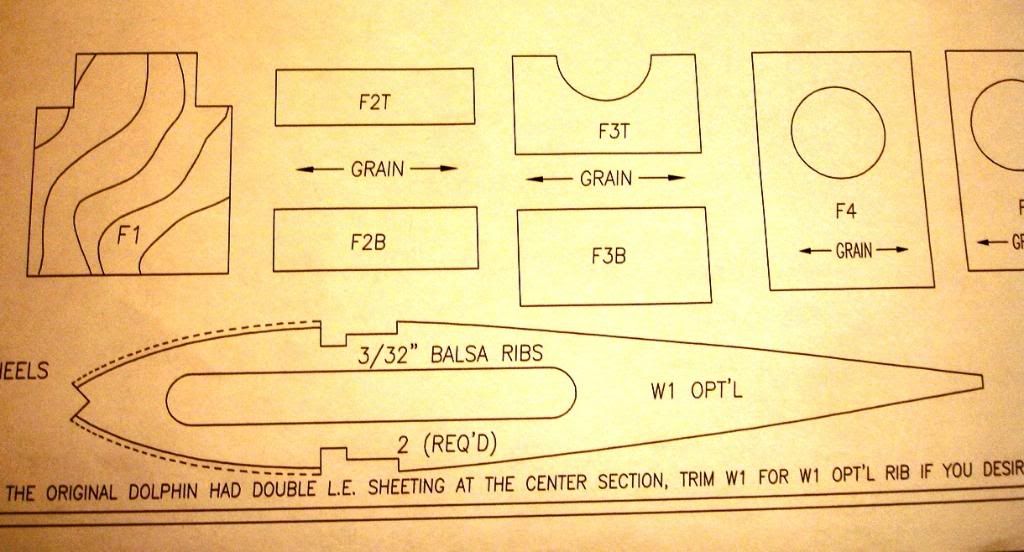
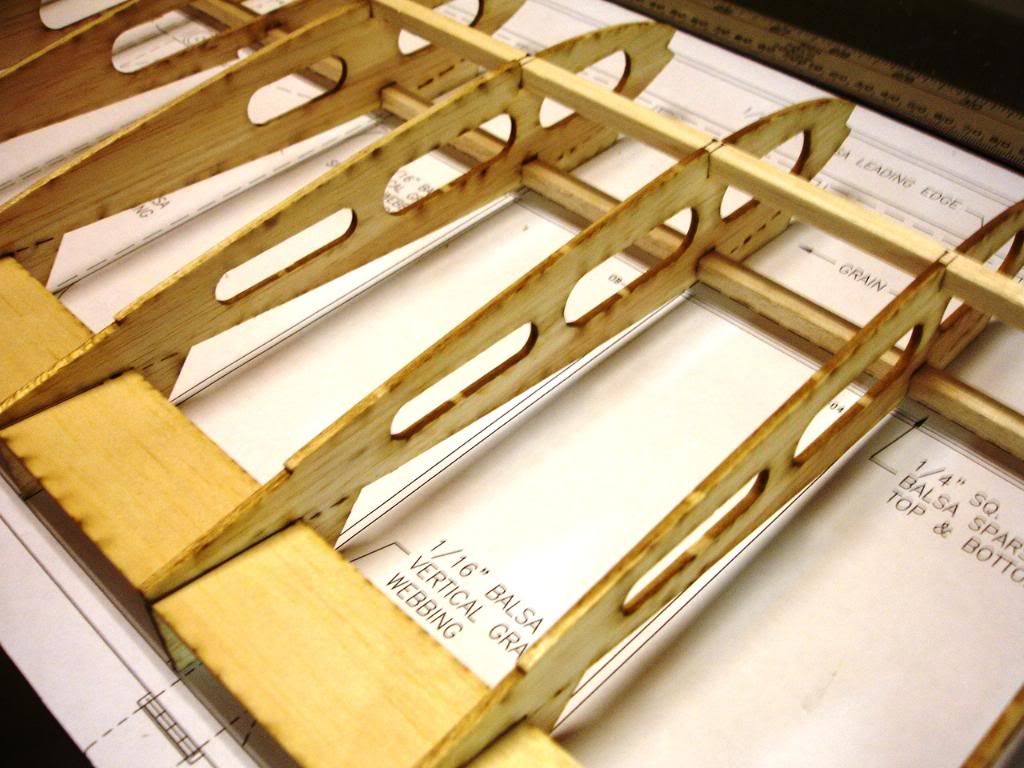
Now its time for a ribn! The original DOLPHIN had the leading edge section double sheeted on the first two ribs (W1). Walter gives the option for this as noted on the plans and on the W1 ribs.
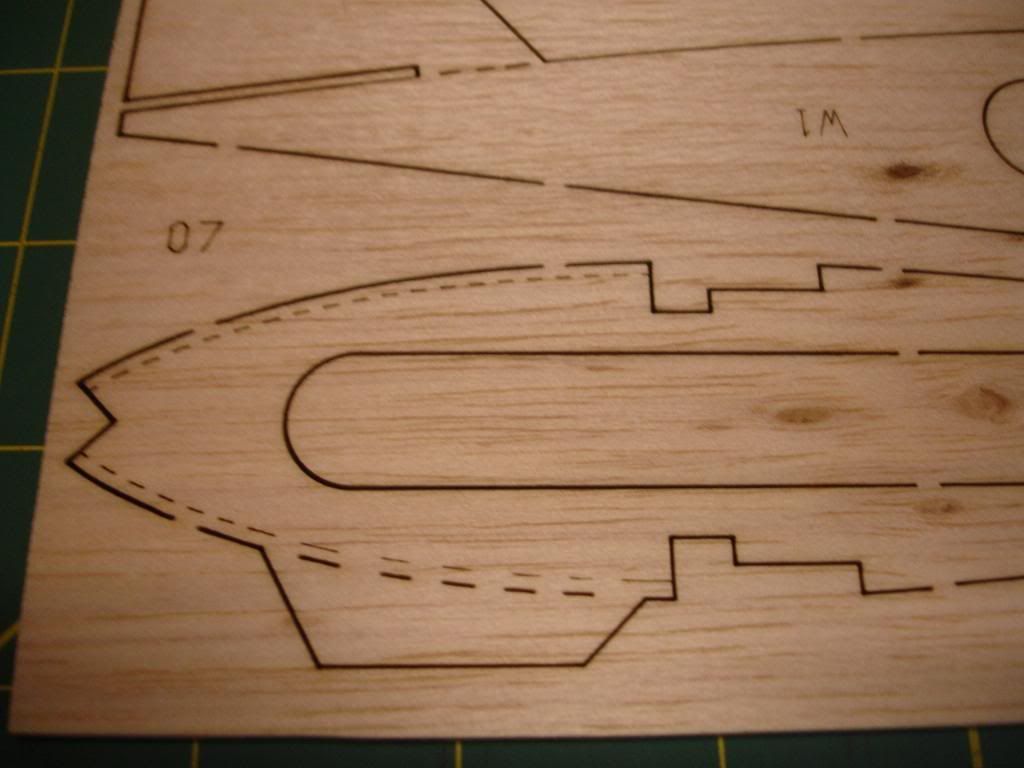
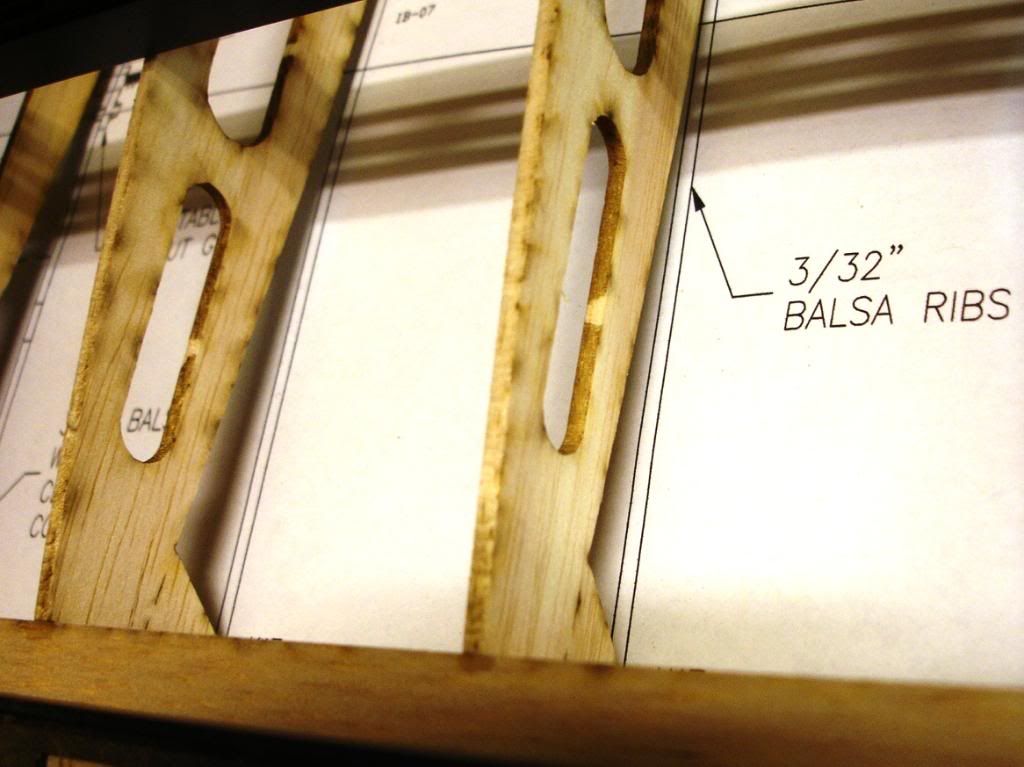
Cut out all the ribs and sand the laser breaks on both the inside cut-out holes and the outside perimeter of the ribs.
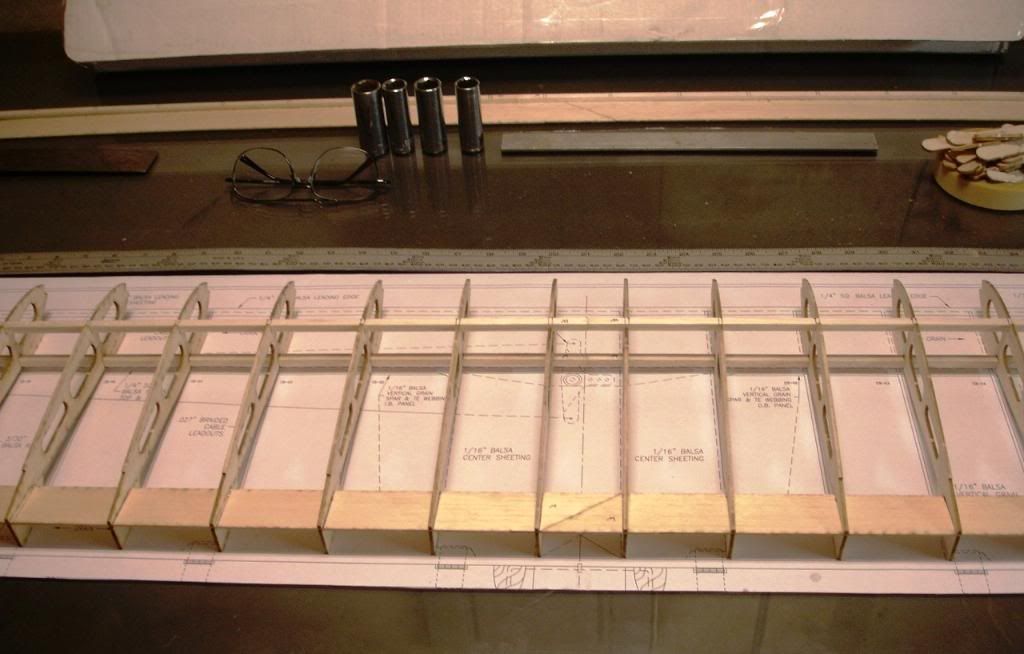
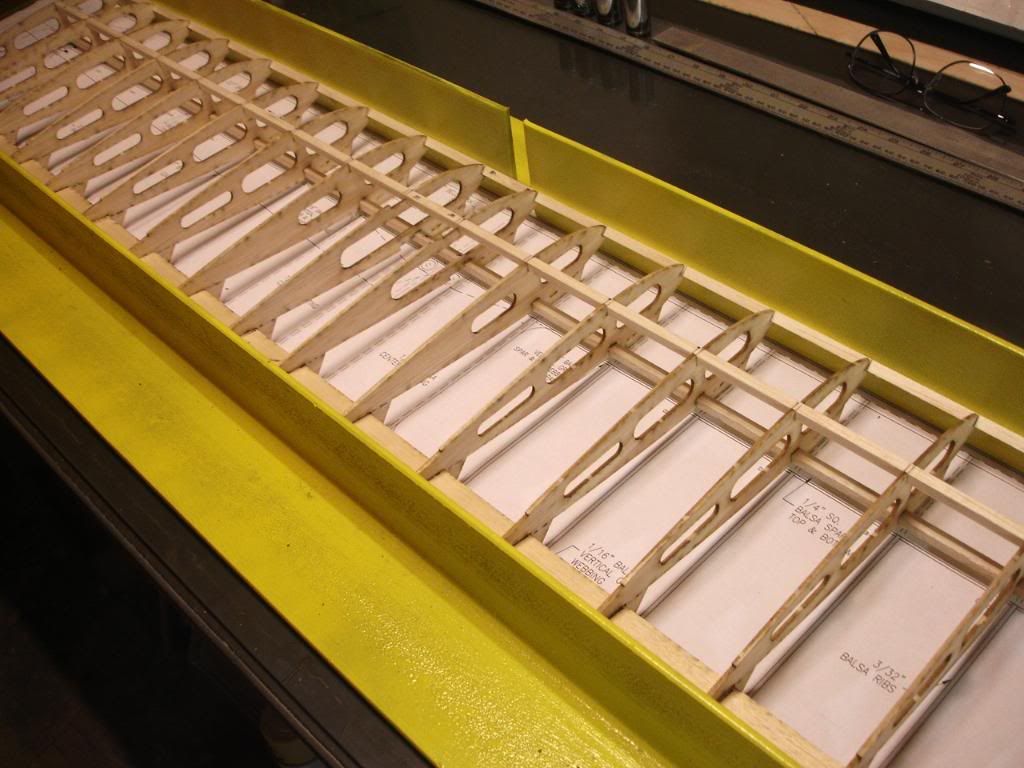
Slide each rib onto the bottom trailing edge section. Then, add the bottom and top spars.
This is a test fit and alignment check only. NO GLUE.
I ordered the controls from Tom Morris. Fast shipping & great service!
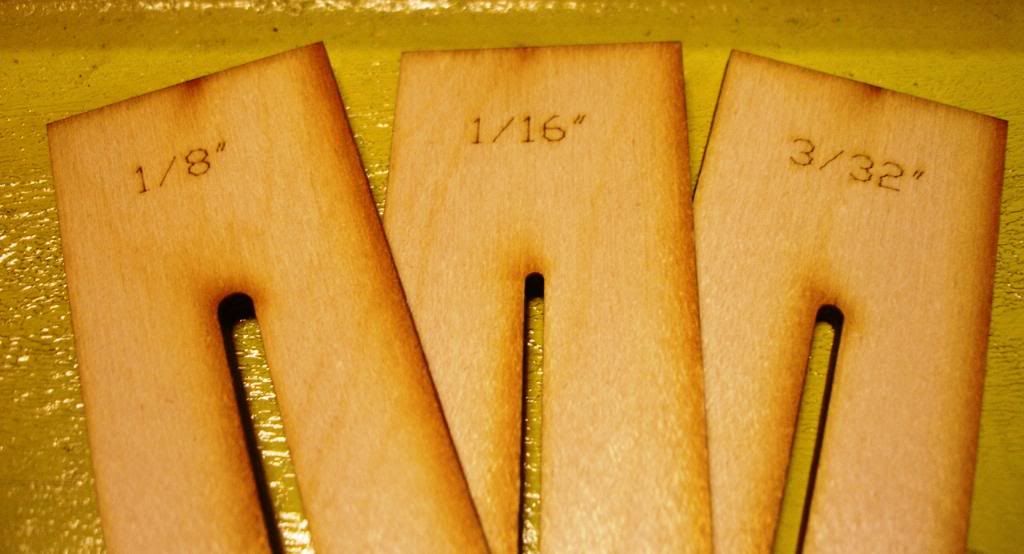
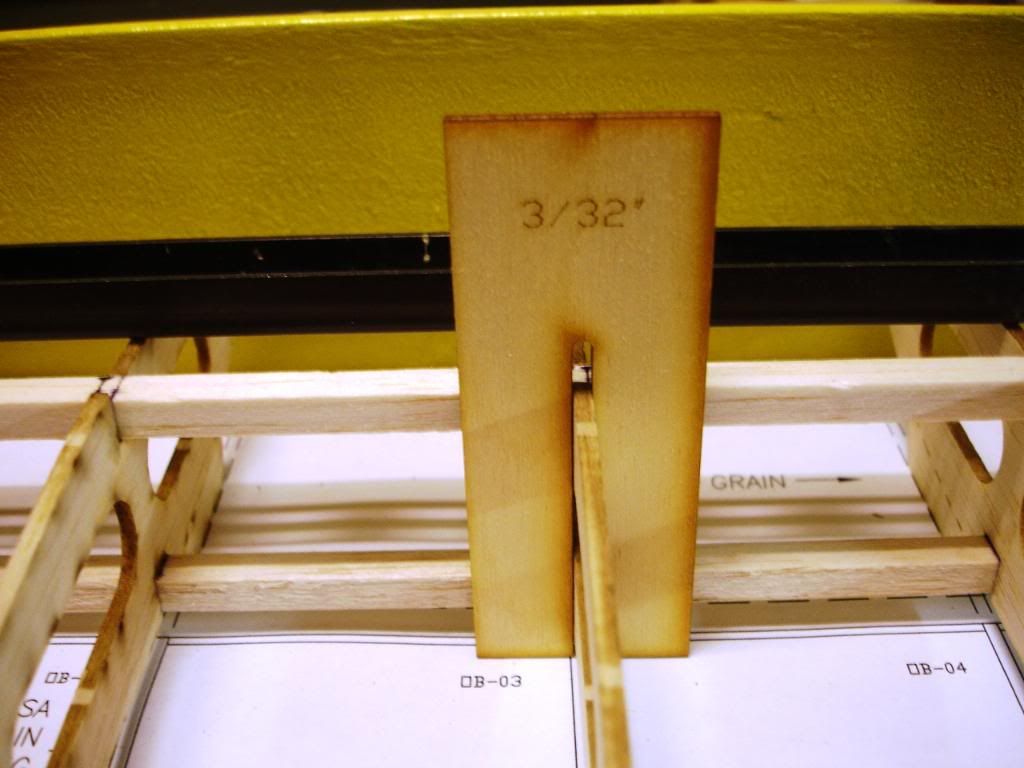
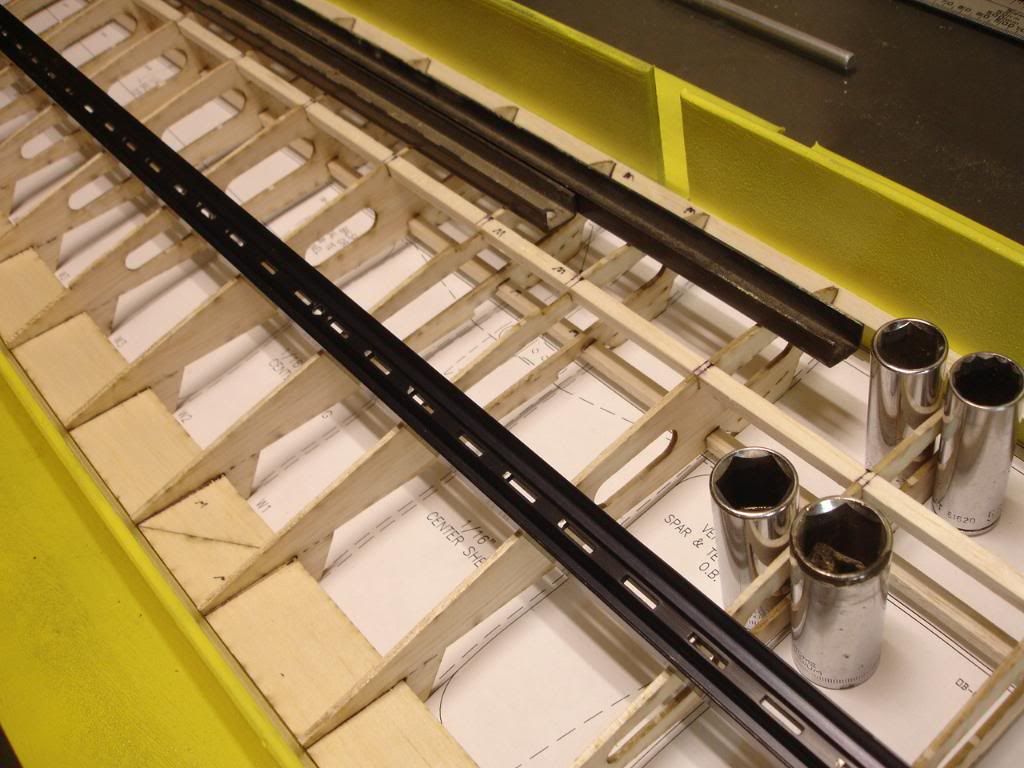
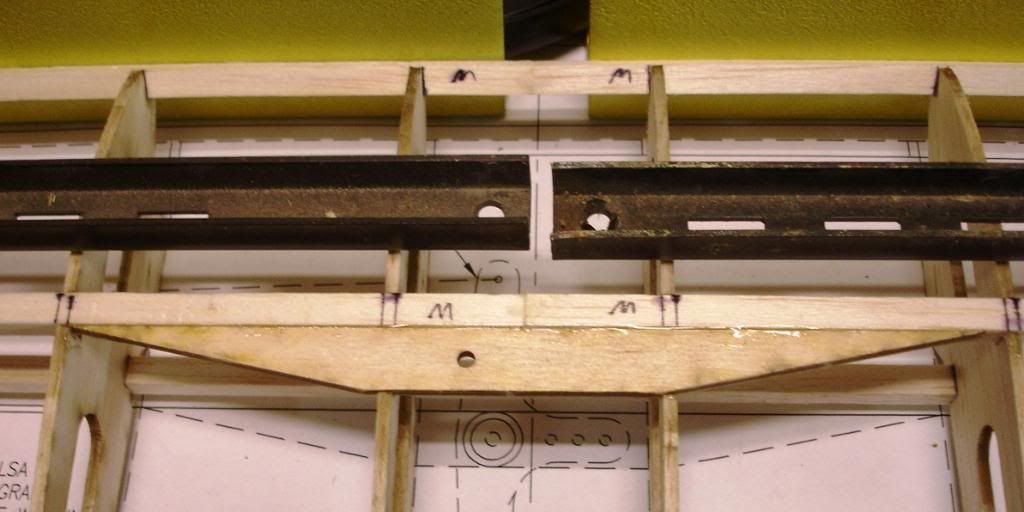
Walter has some great building tools available for sale on his website. The rib holders come in several sizes to fit the thickness of yours ribs and the alignment angles are spot on!
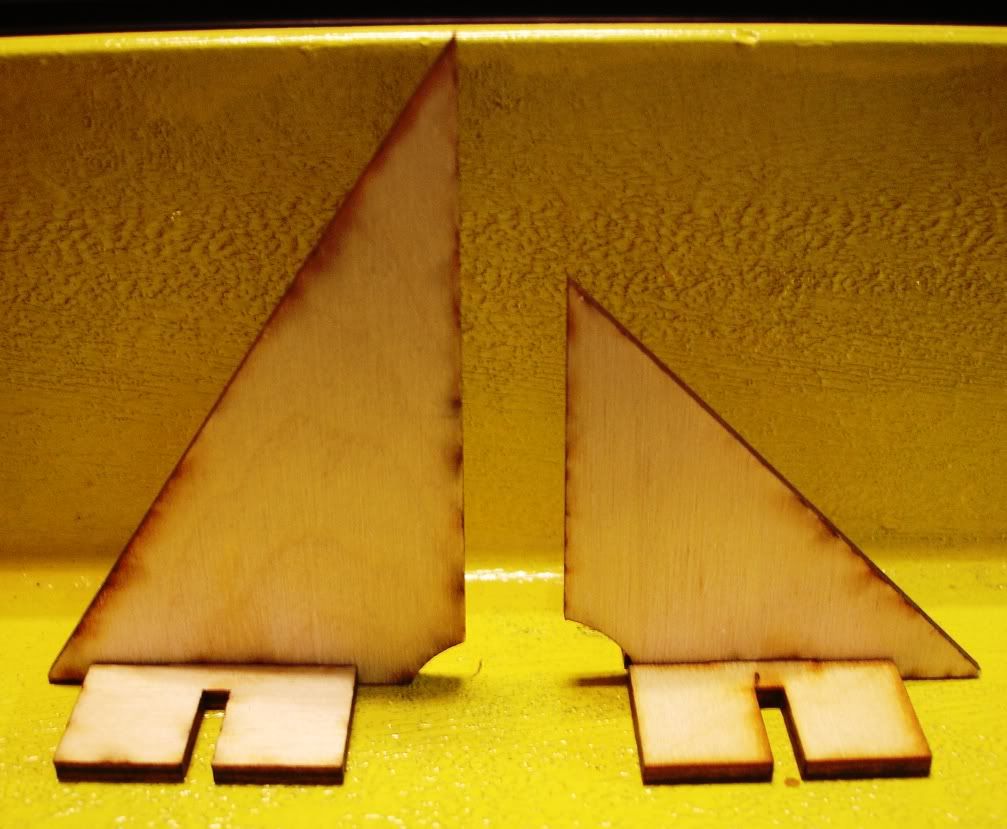
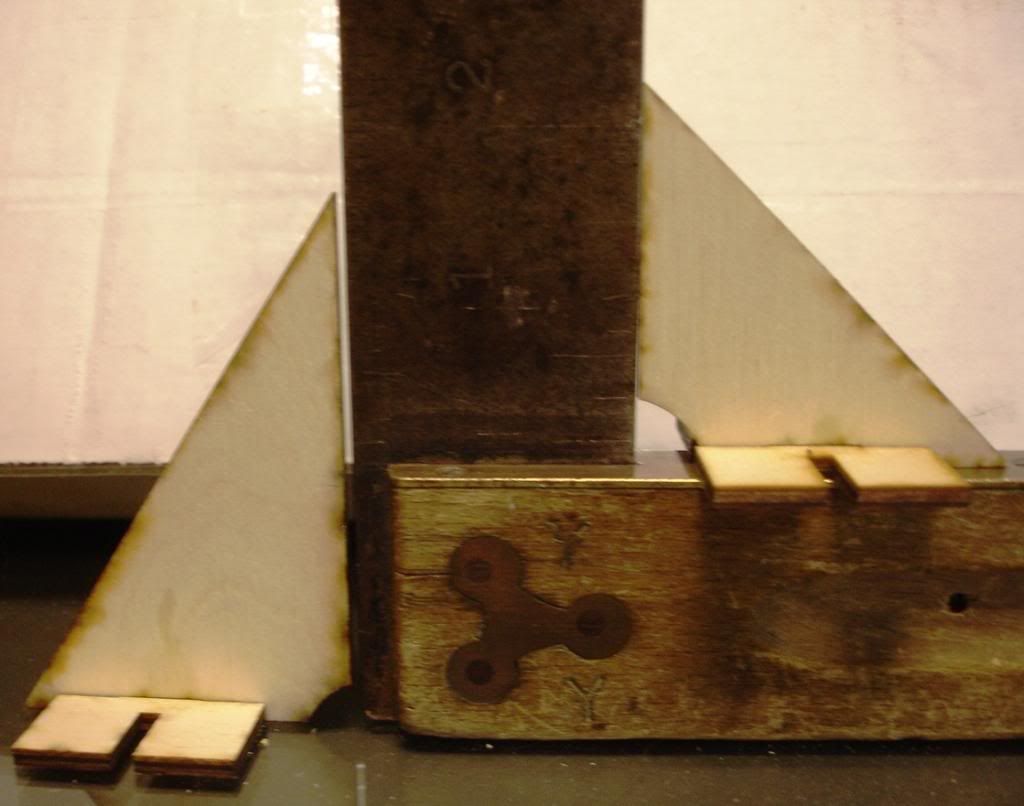
OK
.No jokes about the yellow angle irons. The first set got used by mistake for another project, so I painted these yellow for ease of finding them in the garage.
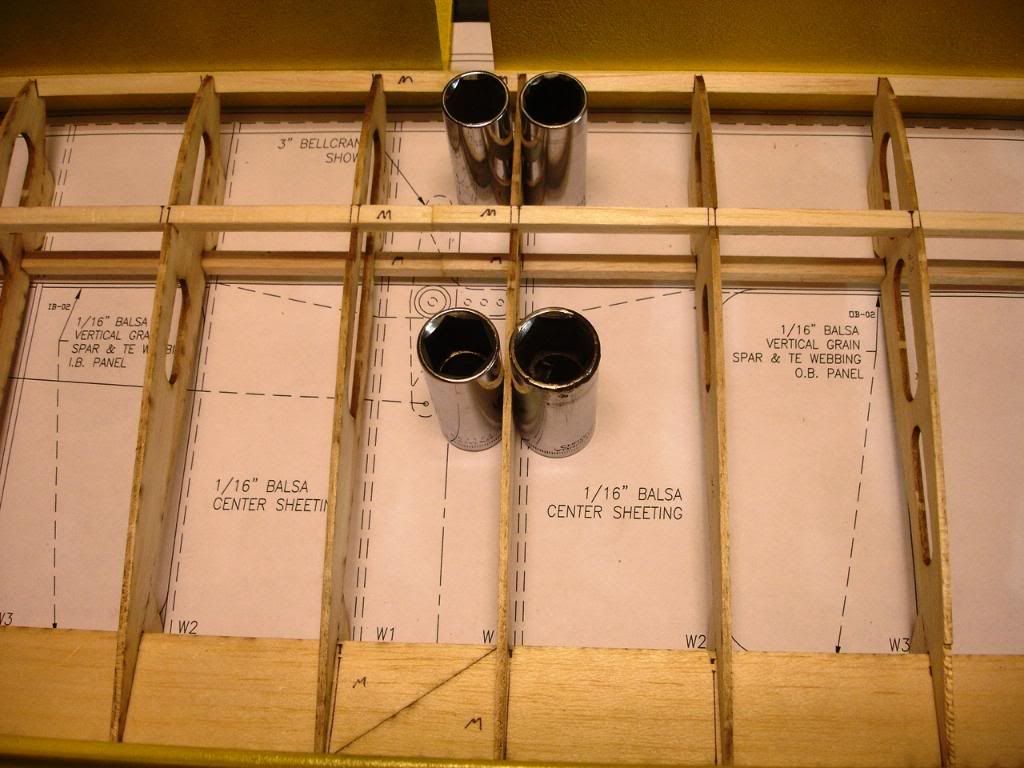
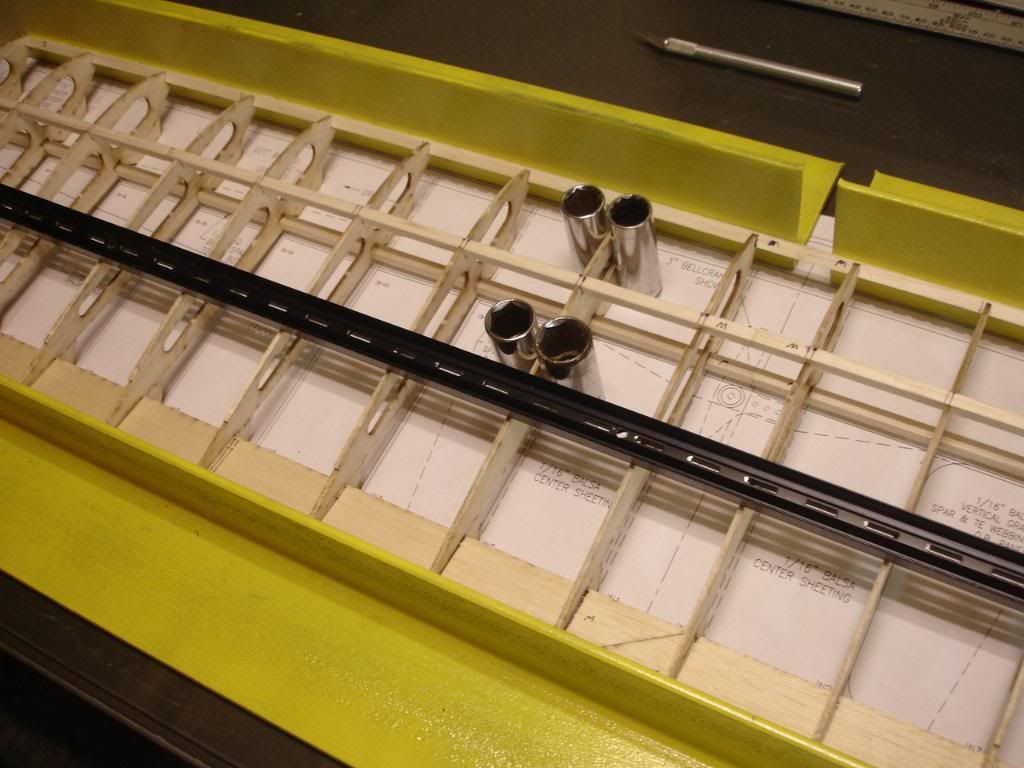
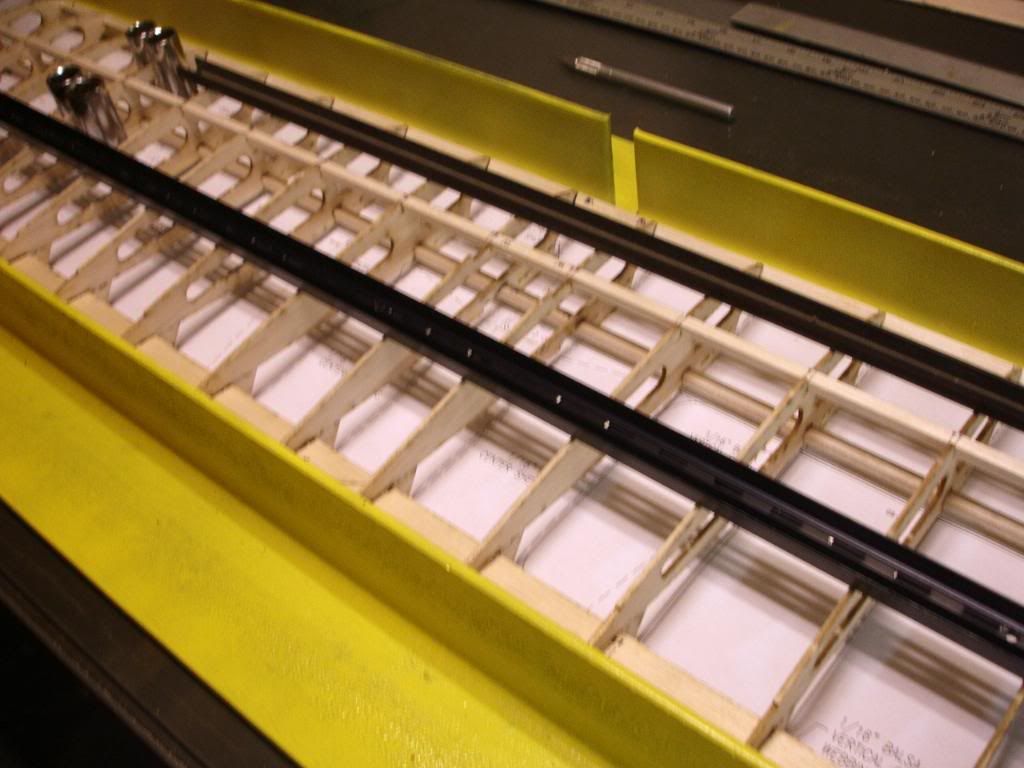
The first picture has the leading edge in place, but still no glue. Start with the W1s and glue your way towards the ends of the wing. Then go back and glue the spars and leading edge. Long reach sockets come in handy!
Since I live over 100 miles (round trip) from the nearest Hobby Store I rely on what I can find at home or at Wally World. (Ours is so small, its not even a Super Store!)
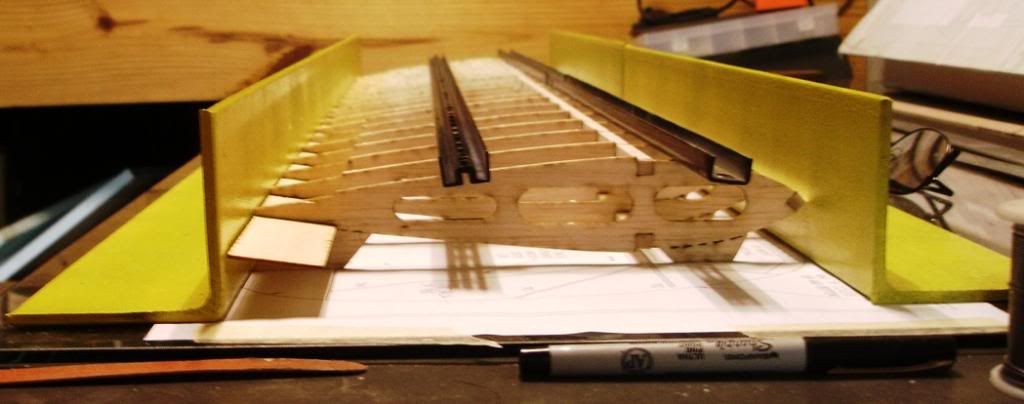
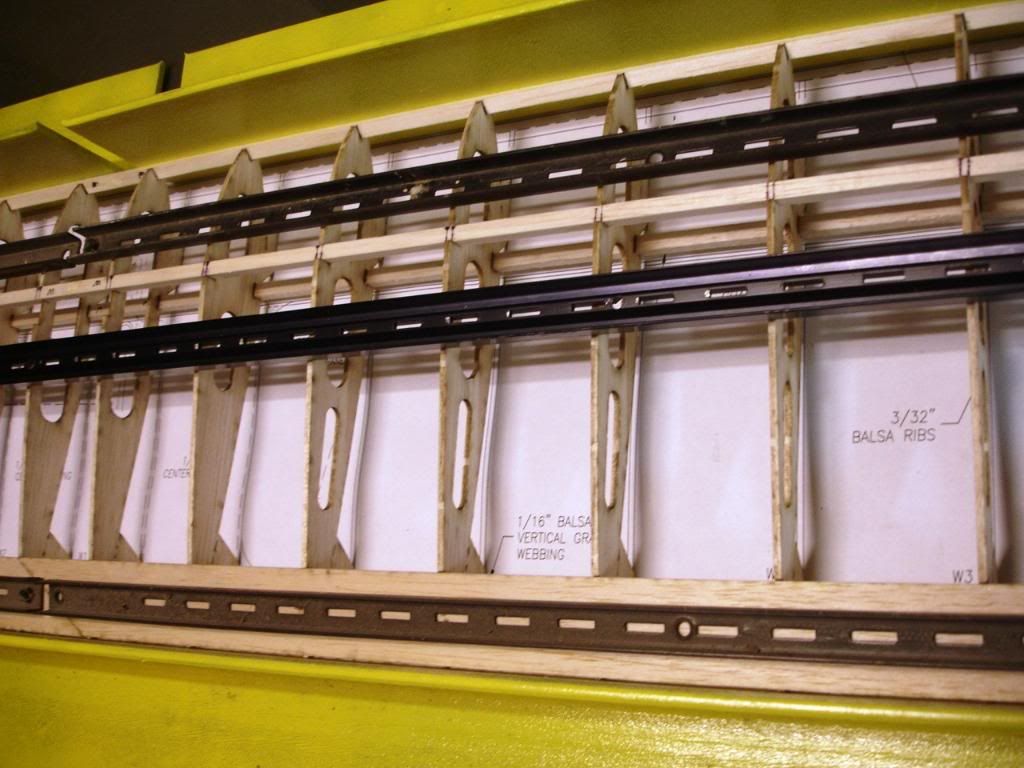
To hold the wing flat on the building surface, I used, thick, metal wall shelving brackets.

Found a GREAT CA holder!
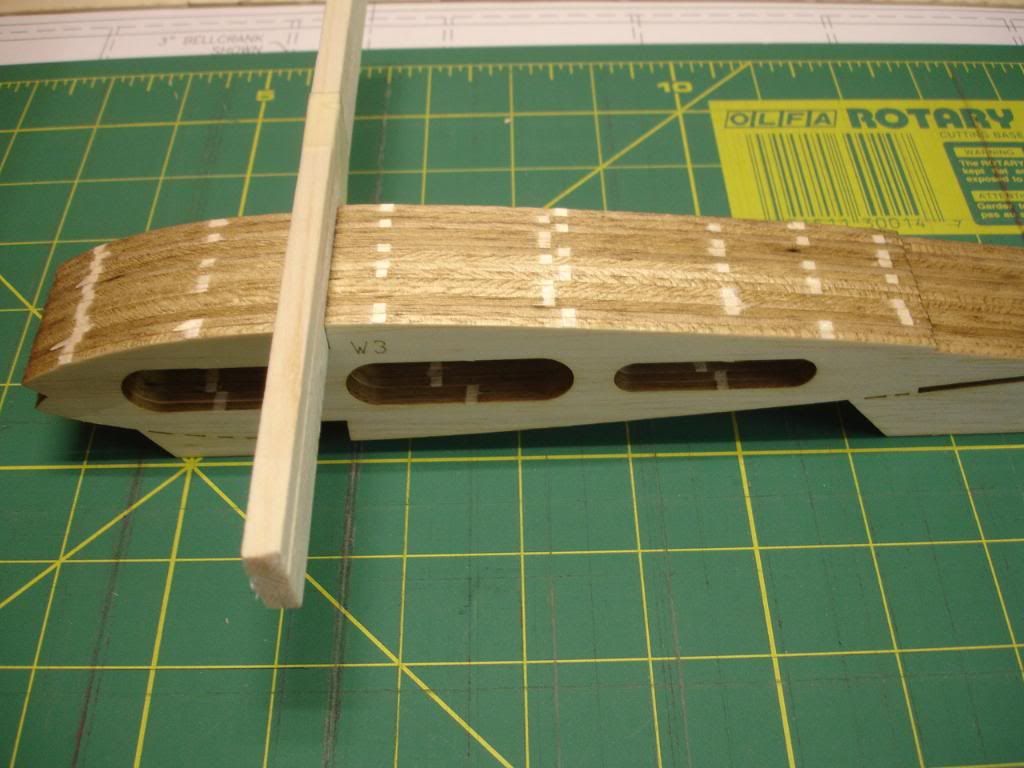
Next, I marked the W1 & W2 ribs for the top trailing edge sheeting by using a mechanical pencil, since this section would be visible. Good wood-to-wood joints are a must!
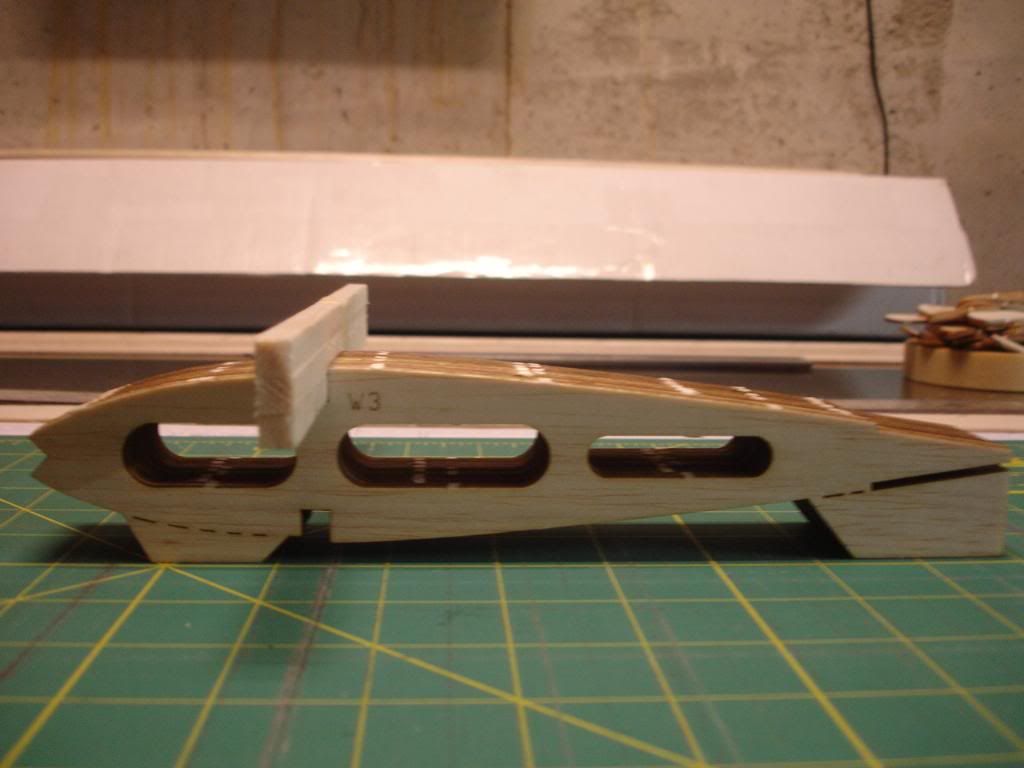
Here it is with the top trailing edge sheeting in place.
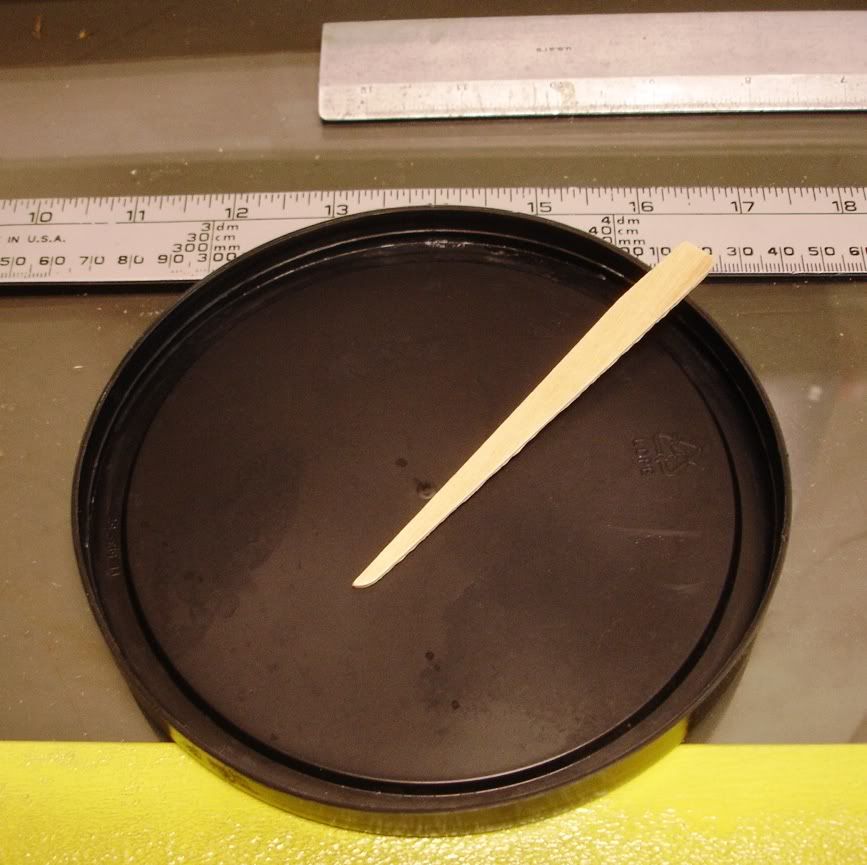
Next borrow one of your Wifes empty margarine tub lids to mix some epoxy on.
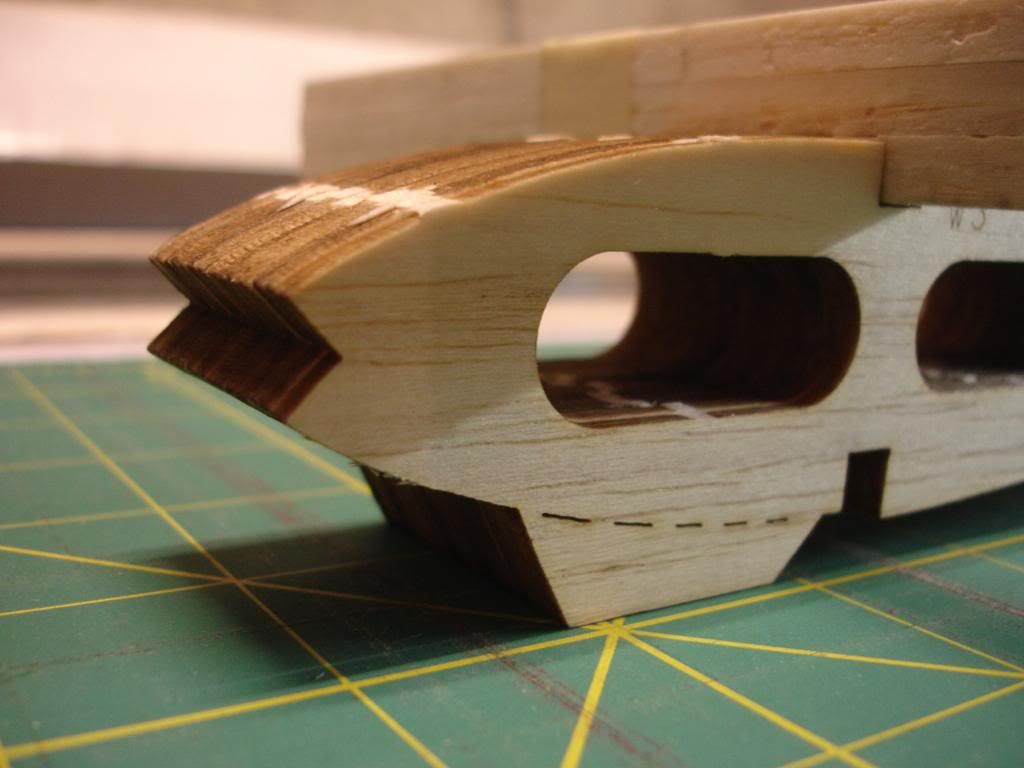
The epoxy wont stick to the lid. Whittle down a pop-sicle stick, or hobby stick, as theyre called, to mix the epoxy. Epoxy in the top bell-crank mount, being sure to wipe off any excess from the top as this will be later covered by the center section sheeting.
Until next time...HAPPY EASTER & "Tight Lines!"

Wes


 Topic: Build of the DOLPHIN kit from Walter Umland (Read 6816 times)