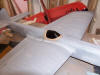
| Finish your
cockpit to desired detail. I draw a line where canopy is going
to sit and only paint to that line.
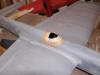
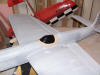
The canopy must be trimmed to a perfect fit! (Take you time
here) Second Hold the airplane so when your gluing with
ThinSet CA the glue runs out of instead of into the canopy.
(important) After you are satisfied with canopy placement
finish gluing. The next thing I do is tape off a line where
canopy in real life would meet the fuse. leaving the edge line
exposed for scuffing. After scuffing with 80 grit I paint to
match fuse. Let paint dry. Lightly sand with 220 and now we
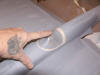
are ready for epoxoliting around the canopy. tape a second
line while leaving the tape on the canopy around the
parameter. About a 1/4 inch will do. Mix Epoxolite and micro
balloons at 60% Epoxolite and 40% micro balloons. Now smear it
around the perimeter and smooth out. Care should be taken here
as the time you spend here will save
you time sanding.
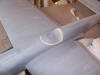
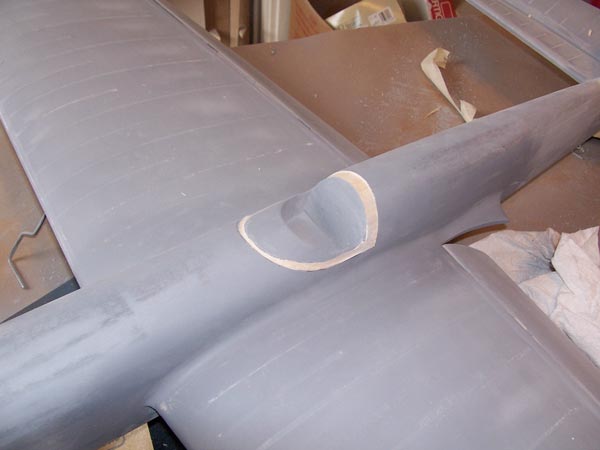
After gluing with CA I scuff a 1/4 inch all around the
bottom of canopy with 80 grit. Then tape a line to canopy edge
and paint to match fuse. Let dry. The I mix Epoxolite with
micro balloons about 60ty 40ty Don't mix up more than you can
work in about a 5 min span. By adding micro balloons it kicks
off faster. Smooth with finger to tape line. If done right you
have a painted rim inside and epoxy outside. The most
important part here is the smoothing. Epoxolite is hard so
care now will save sanding.
The last thing to do before removing the tape is a coat of
primer and finish sand. That's the long and short of it. If
you follow these steps you will have a canopy that looks like
it belongs on the plane. Good luck! Questions just ask.
Here are some links on how to dye canopies From
Walter Umland
|